Southern Girl Layout

June 30, 2021

4th of July 2021

Happy (almost) 4th of July! Here's how I dressed up our home this year, with some money-saving DIY tips added in:


I made the "USA" on my mantel by using 3 frames from the dollar store. I added blue scrapbook paper with white stars, then I glued the letters on the glass of each frame.

I hot-glued a votive holder to a basic blue star to make this tabletop décor.

I made these "firecrackers" from a wood fencepost that I cut into 3 different lengths. I drilled a hole into the tops, then after I painted them, I hot glued some pieces of rope to resemble fuses.


I made the tabletop signs with some wood from the craft store, a burlap bow, and letters that I cut on my Silhouette Cameo machine. The star is from Michaels (I just glued it into a wood frame that I painted).

I spray-painted the spheres in the jar on the left, and I used basket shreds in the jar on the right. The foam stars in the center jar are from Hobby Lobby.


Here's a close-up of what's in my island lanterns. I filled Mason jars with red, white, and black beans, then inserted mini flags for a super patriotic, but inexpensive, touch.

I purchase these stars in an after-Christmas sale many years ago, then painted them. This year, I added some 4th of July ribbon to make them look even more festive. Here's a link to my post about going after-Christmas shopping to purchase décor for other holidays: Dimes are a Girl's Best Friend: After-Christmas Shopping (dimesareagirlsbestfriend.blogspot.com)


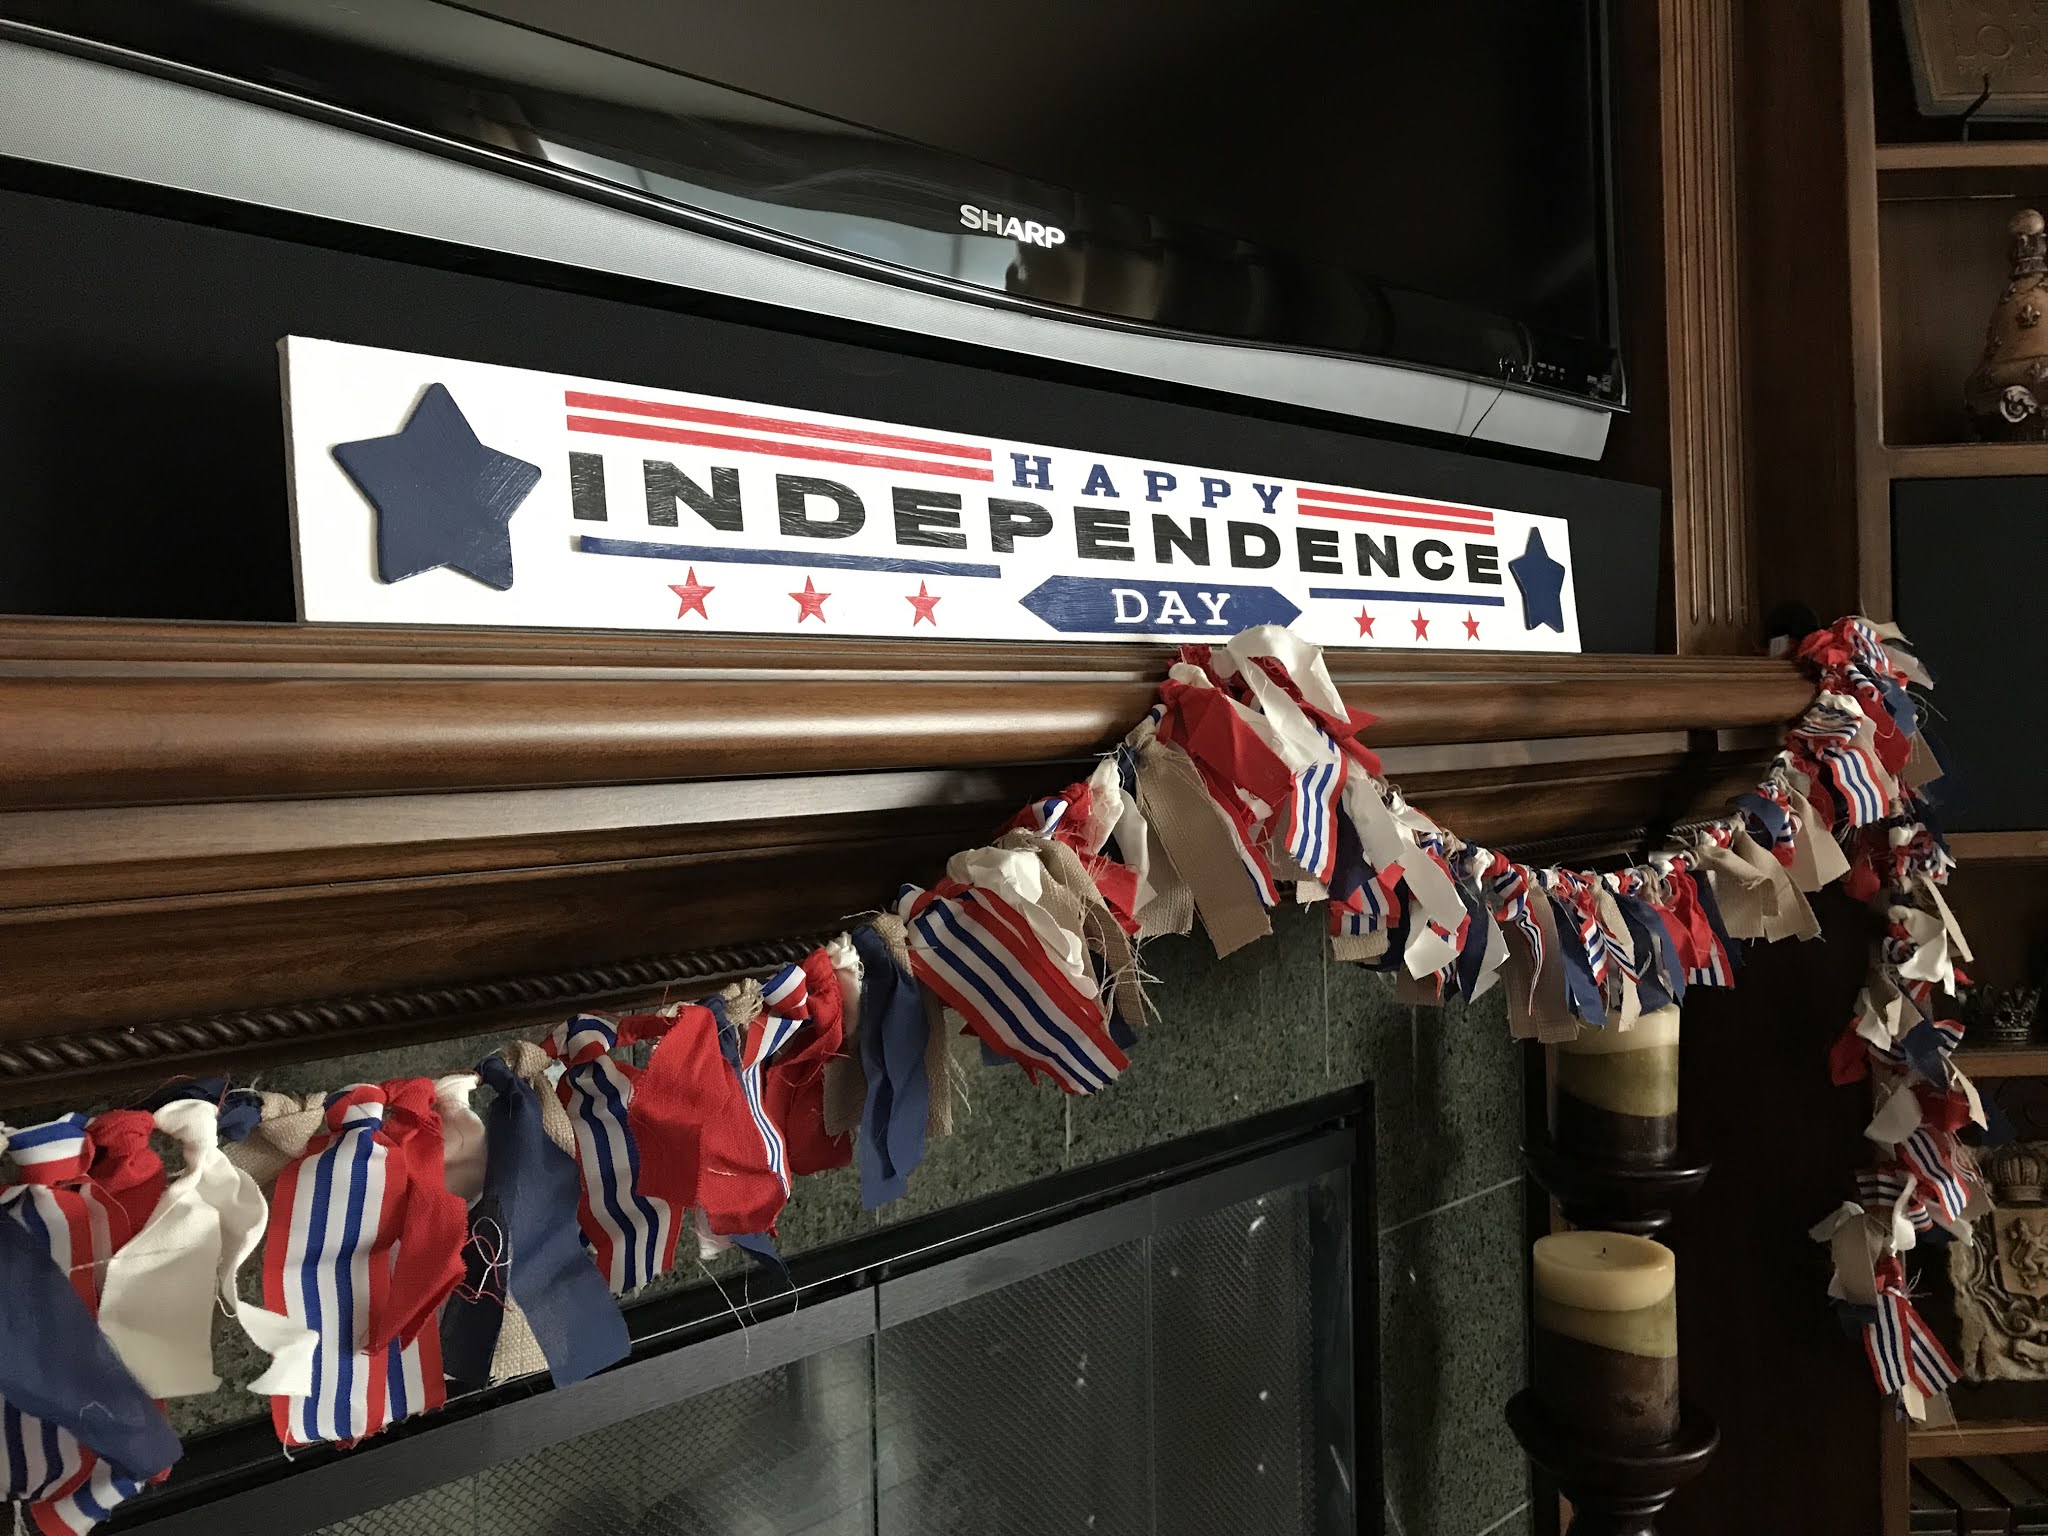
It's so hard to find long holiday wooden signs for my mantel. This year, I gave up trying to find something pre-made, and bought unfinished wood. I painted it, added the 2 large wooden stars, and cut the rest of the design out of cardstock on my Silhouette Cameo. I then Mod-Podged the design onto the wood. Last, I attached "EZ Easel" stands so it would stand up on its own; I also highly recommend these stands if you have a picture frame with a broken easel, or a wall frame that you want to turn into a tabletop frame: Amazon.com: Premium Quality EZ Easel Black Pack of 2 


You've probably noticed that I'm a big fan of wall signs paired with easels, which turns them into tabletop décor.


I made these a few years ago out of wood blocks that I painted blue. I Mod-Podged patriotic scrapbook paper on the blocks, and cut out the words (on vinyl) on my Silhouette Cameo. For the spheres, I used red, white, and blue silk rose petals glued onto styrofoam.


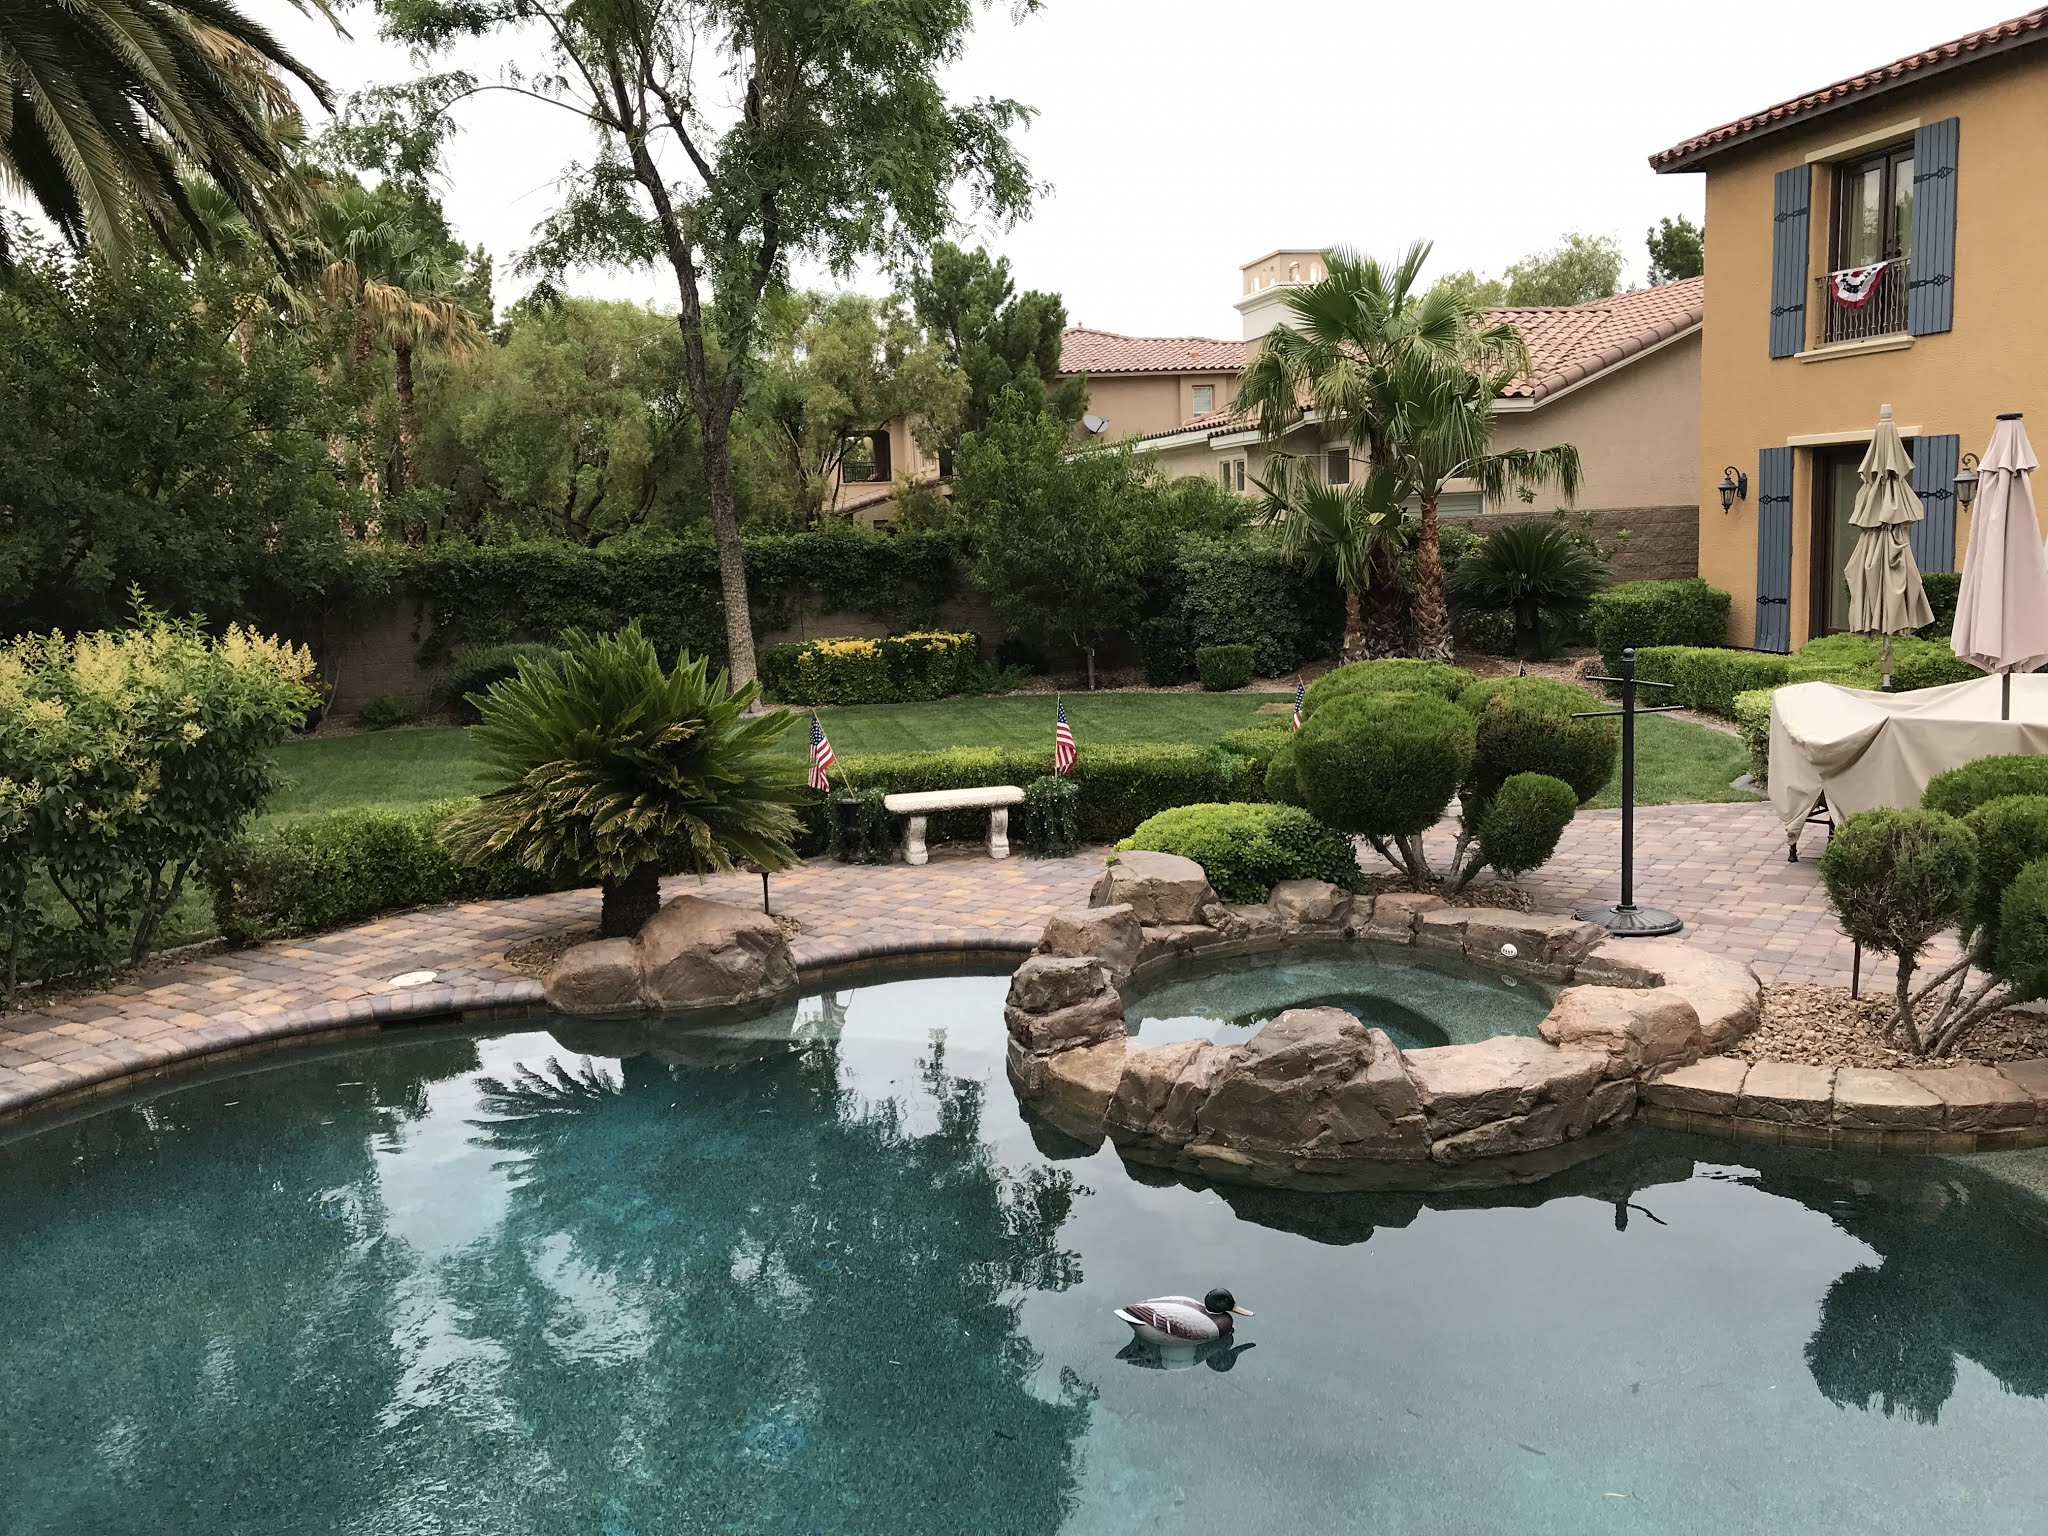
Some flags and patriotic bunting always complete the holiday look in my backyard.

I hope you have a fun, safe 4th of July!

May 24, 2021

Lady's "1st Birthday Paw-ty"

Last month, we celebrated Lady's first birthday. I've never thrown a party for a dog before, but it was a great excuse to invite my Las Vegas grandchildren over for cake!


I made most of the decorations on my Silhouette Cameo, but a few things - like the backdrop and the balloons - came from Amazon. 

I bought the picture frame, dog bowls, and tableware from the dollar store, of course! I got the small wooden fire hydrant and dog house from a craft supply website, then painted/glittered them. The "dog bones," actually "Scooby Doo" graham crackers, were a big hit.

I cut a piece off of the backdrop to make a table runner (using packaging tape to "hem" the raw edges). I made the ribbon garland with a thin piece of rope, and a few spools of coordinating ribbon. It was a time-consuming task, but easy to do while watching some of my favorite guilty pleasures on Netflix.

My favorite bakery was unable to make the cake, so I had to do it myself. This tutorial made it easy, but it was still very time-consuming: Yorkie Dog Cake Recipe - BettyCrocker.com  I couldn't find hot pink cake board foil, so I used wrapping paper (but if you do this, be sure to have an extra cake board under the cake, so the icing doesn't stain the paper). I used fondant to cover an ice cream cone for the hat, and to cover a waffle cone bowl for the dog bowl (then I used edible glitter on each). The "dog food" is cocoa puffs. The bone was also made of fondant, cut with a cookie cutter.


I ordered the puppies from Amazon. They're keychains, which were more cost-effective - I just cut off the attached key rings.

Not pictured: granddaughter Saylor, who was too excited to sit still!

March 15, 2021

Easter 2021

Spring doesn't feel like it's sprung yet in Las Vegas - our weather is still a little blustery (not to complain, as many of our neighboring states are getting record snowfalls). Inside our home, it's another matter: Easter decor reminds us that warmer (and COVID-free) days are coming!


Here's a close-up of one of my wreaths. I purchased simple hydrangea wreaths, and added lots of pretty Easter eggs.


I couldn't find the right size sign for our mantel, so I purchased the pre-painted "Easter" sign, then mounted it to an empty frame, after painting the inside of the frame a cheery yellow. I hot-glued little daisies on the pre-made sign to cover the holes that were left behind after I removed the hanging wire. I also glued little pastel-colored gems onto the center of each daisy, to tie in the spring colors.


I made the colorful spheres by coating styrofoam balls with joint compound, and then spray-painting them. You can see the DIY post here: Dimes are a Girl's Best Friend: April 2011

I don't know why I love this little bunny, holding his cabbage vase full of colorful Easter eggs. 

I wanted this cute bunny to coordinate with the eggs in the vases, so I added a thick ribbon with the same colors. I think they tie in perfectly now.

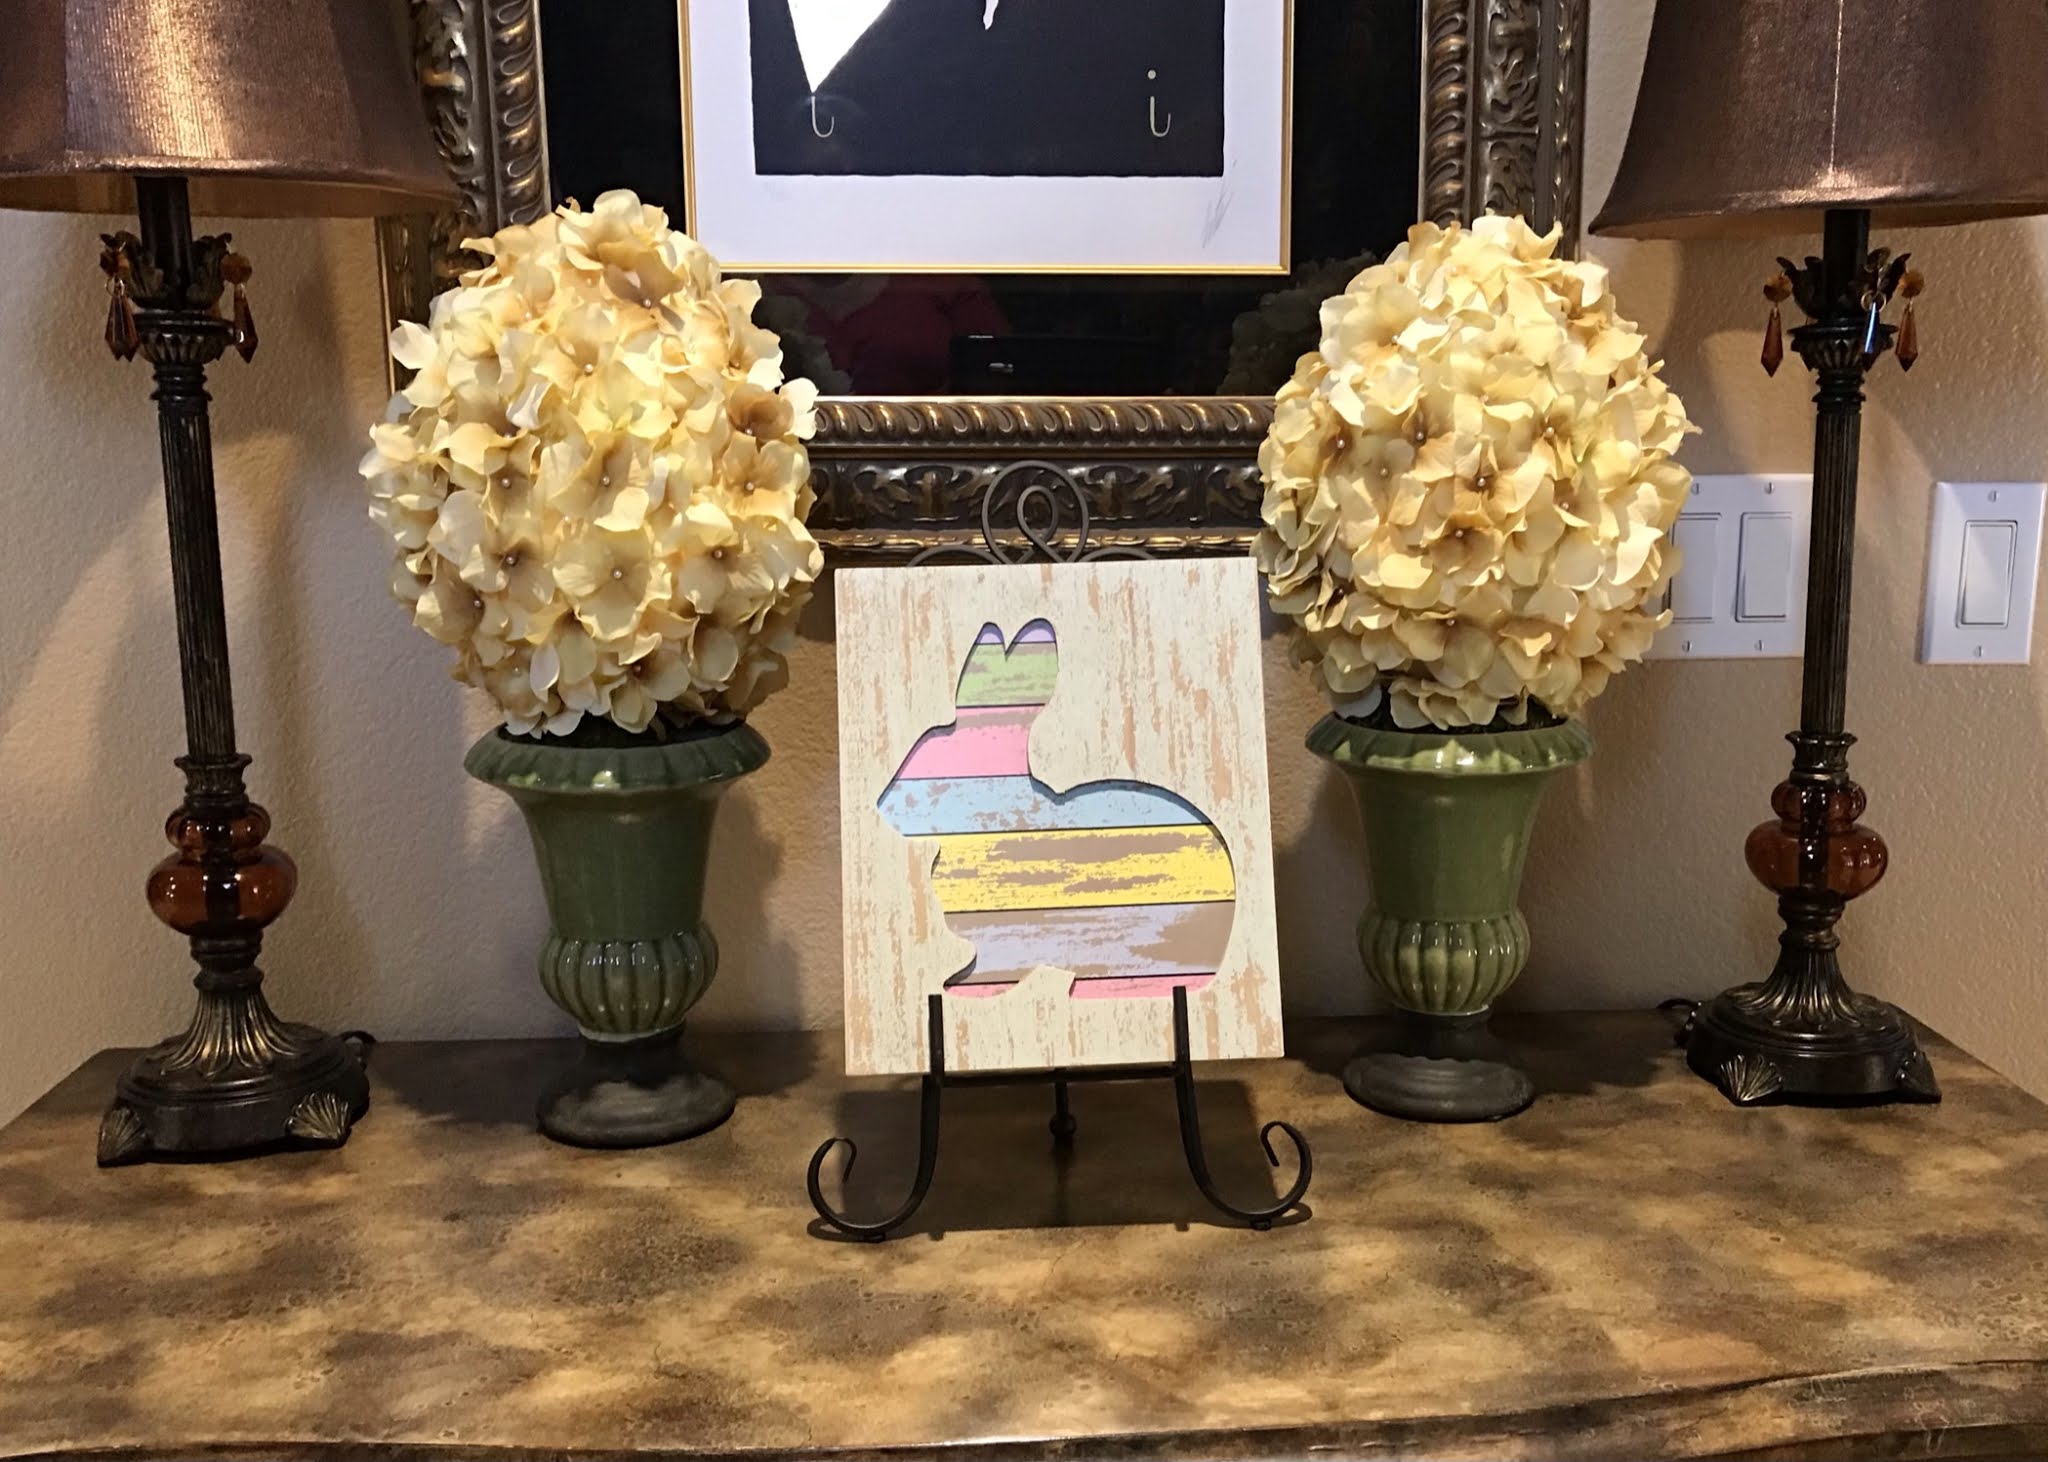
Here's my DIY for the egg-shaped topiaries: Dimes are a Girl's Best Friend: April 2011


I took a close-up of these bunnies because I wanted to explain what I did with them. I actually purchased two of the same bunnies (the craft store only had the male version in stock), then I transformed one into a girl. All it took was some burlap, hot-glued into place to resemble a jacket and a skirt. Then I glued on some daisy buttons, made a little pearl necklace, and used floral trim from the sewing department to give her a spring tiara. I found a mini basket and placed some eggs in it for her to carry. I think she turned out pretty cute.

Another bunny holding a cabbage. I filled this one with realistic-looking carrots from the craft store, which I sometimes use in my Easter place settings. When you use raffia to tie the carrots to an Easter napkin, they look adorable.

I like using inexpensive touches in unexpected ways. Here, I filled my apothecary jars with different colored Easter grass from the dollar store.


I couldn't find a garland that I liked, so I combined two of them. I found the bunny garland on Etsy, and the wooden bead garland at Hobby Lobby. By restringing them together, I created what I think is the perfect garland for my living room mantel.


I don't like pre-made signs that are unfinished on the back, so I bought two identical signs at Home Goods. Then I epoxied them together, and hid the seam with a pretty spring ribbon. Now, my sign looks great from both sides.


I think everyday candleholders can look festive, too. For Easter, I use a little Easter grass under some large glass eggs.

I mentioned place settings earlier, so I wanted to share the ones I made for my last big Easter dinner. Here, I placed my china on silk cabbage leaves. I tied the napkins around faux Easter eggs (but they'd be cute around real ones, too). For the centerpieces, I took inexpensive glass jars and placed a styrofoam disk inside each jar before I filled them with jelly beans. The sytrofoam makes the candles appear taller, and it allows you to use fewer jellybeans. I couldn't find candles in the right color, so I bought inexpensive white candles and painted them with acrylic craft paint in lilac.


Happy Easter!