Southern Girl Layout

December 31, 2011

After-Christmas Shopping

I'm sure we're all out scouring the stores for bargains right now, so I want to give you some potentially new bargain-shopping ideas. This time of year, consider not just looking for discounted Christmas decor, but items for other holidays and projects as well.

4th of July
Last July, I blogged about post-Christmas bargains. Here are some pics of star-shaped Christmas decorations I re-purposed for 4th of July. A little red, white, and blue paint coupled with some imagination transformed them; it was inexpensive and easy!


Red, white (or silver) and blue ornaments would look great in July, too. Think about putting them in an apothecary jar - like the ones here - or in a large bowl. They could also be made into an Independence Day wreath. Many stores also carry patriotic-themed Christmas ornaments that can be re-used for the 4th of July.


Valentine's Day
Don’t forget other holidays. Of course, red, pink and white Christmas décor is perfect for Valentine’s Day. Red wrapping paper and gift bags will be in high demand in February; buy it now and save.

Credit: http://www.great-decorating-ideas.com/Homemade-Outdoor-Christmas-Decorations.html


Birthdays
I like to purchase solid-color wrapping paper this time of year. I use it to wrap gifts all year long. Look how plain red and green wrapping paper can be completely changed by using bold, non-Christmas ribbon:


Credit: http://cherishedbydesign.com/category_34/Gift-Boxes.htm

This year, I found some beautiful patterned papers at Hobby Lobby for 60% off. They had red and white, and also a black and white harlequin pattern. The rolls are huge, and less than $3.00 each.


Projects
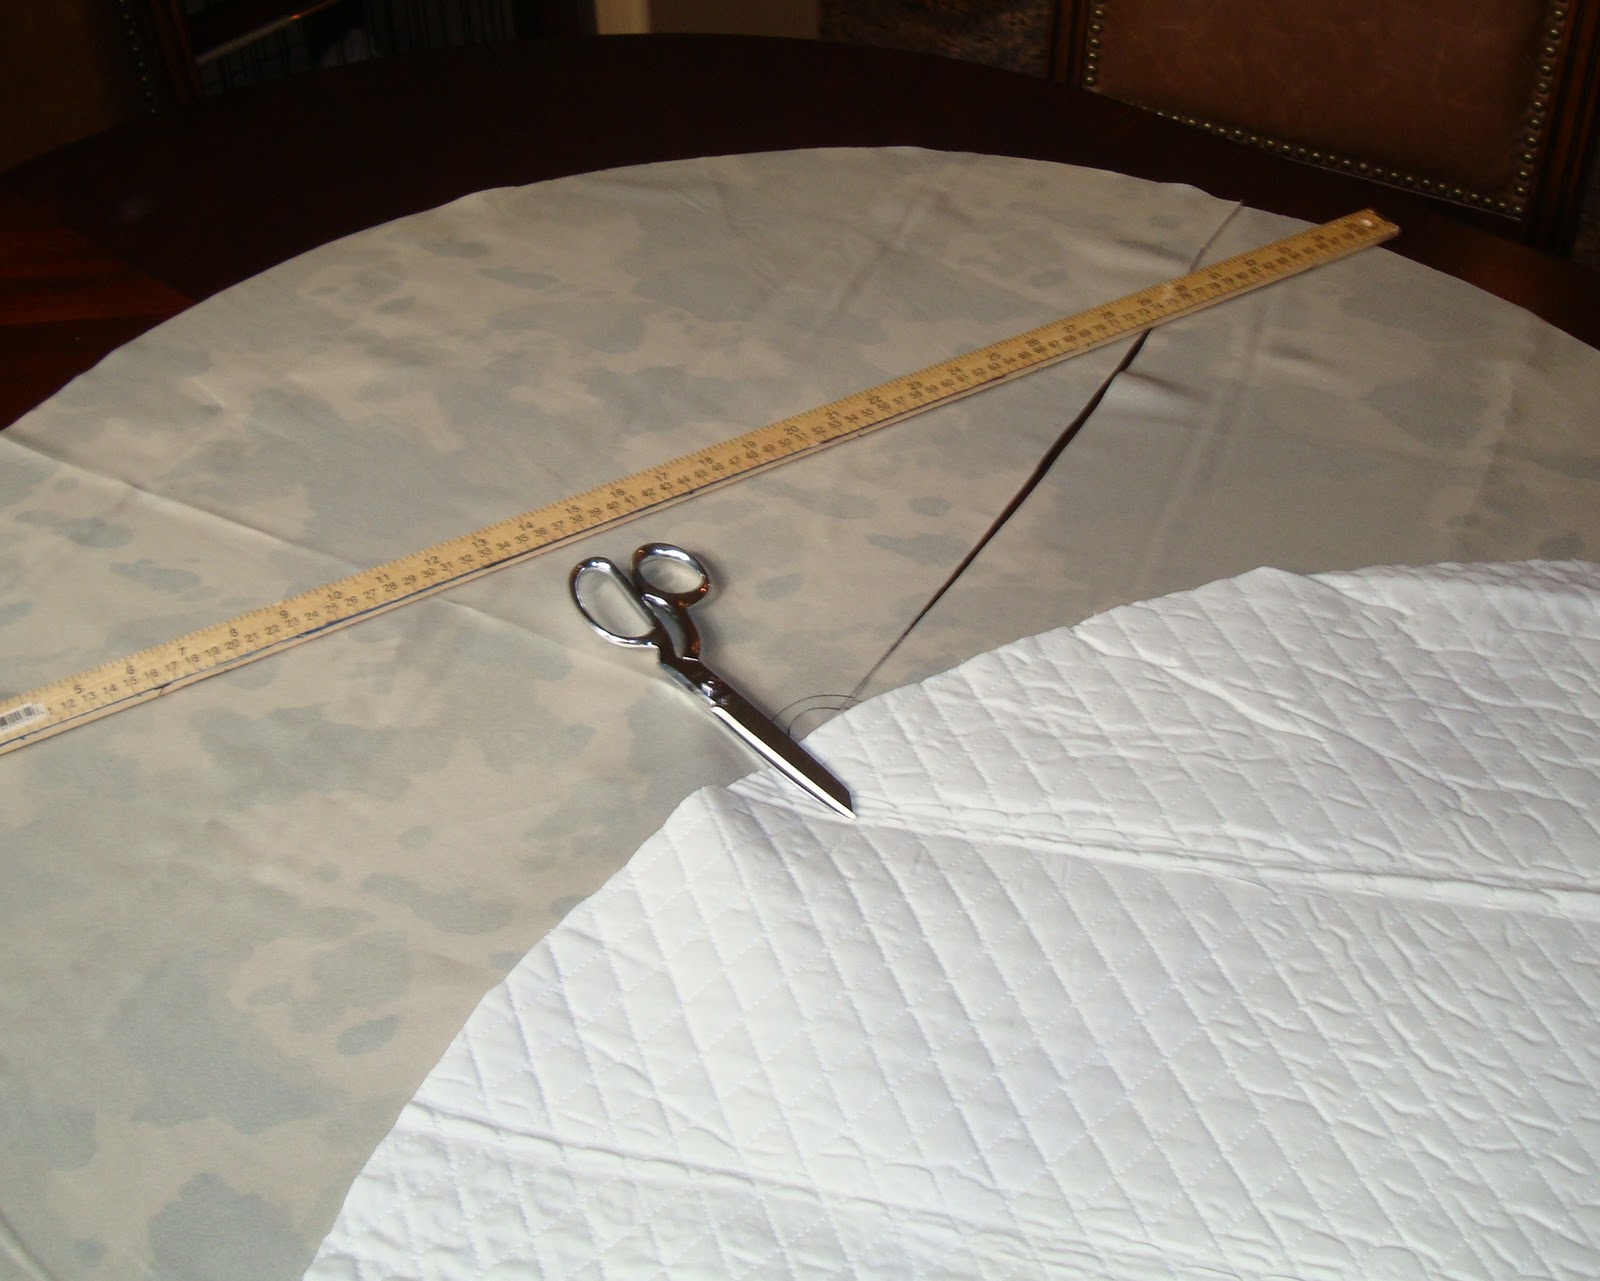
I can think of a million other ways to use wrapping paper. All you need is some Mod Podge and your creativity (or you can consult www.pinterest.com for ideas). In fact, here's what one crafty blogger did with the exact same paper I found at HobLob:

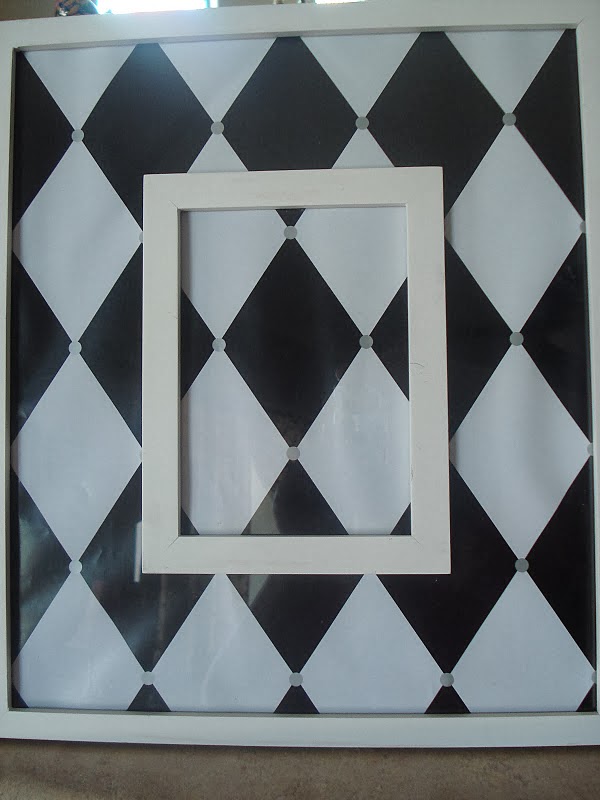
Credit: http://nostalgicnana.blogspot.com/2011_04_01_archive.html

Organization and Gifting
Many stores have Christmas baskets which can be used for organizing your house or gift-giving. Yesterday I found these baskets at Michaels for 70% off:
They were much less expensive than their everyday counterparts, so I purchased a number of them and removed the Christmas lining, which I will donate. I'm using the baskets to organize my kitchen cabinets, but they could just as easily be used for non-Christmas gifting:
Speaking of baskets and gifts, wouldn't it save time and money to stock up on gift sets right now, considering they're up to 90% off? Just throw away the Christmas packaging and put the sets in baskets for Valentine's, birthdays, Easter, etc.

I’d love to hear about your finds!

December 18, 2011

Christmas Tree Skirt III (from $1 Santa Hats)

The last Christmas tree skirt I made was inspired by this angel:


I found Santa hats at the Dollar Store, and they looked just like the angel's skirt! So I bought a bunch, cut them along their seams, and stitched them together, making this:


Here's what the underside looked like:


And here's what it looks like under the tree:

Not bad for $5.

Christmas Tree Skirt II (Cowboy Theme)

The Christmas tree skirt saga continued with a desire for a cowboy-themed tree skirt. The few I found online ranged from $55-$75, and there is no way I would pay that much for something I can make for under $20 and about an hour of my time.

This tree skirt required a little sewing, but nothing complicated, since I don't know how to sew very well. It could be hot-glued together instead.

Necessary supplies were 1.5 yards fabric (mine, from Hobby Lobby, resembles cow hide); trim (I used leather fringe, also from HobLob); batting (if you want to make it "fluffy"); and some remnant fabric for a backing (I used a quilted fabric):


First, I cut all 3 fabrics into circles, then I cut a slit in one side and a circle from the middle:


Next, I put the right sides of the 2 fabrics together and put the batting in the middle.

I pinned all 3 fabrics together, and then sewed around the middle circle, down one side of the slit, and all around the edges.


After that, I turned it inside out (which actually was rightside out) and sewed up the other side of the slit. You can see here that it wasn't perfect by any means:


I used a hot glue gun to add the leather fringe. Here's what it looks like under the tree:

Christmas Tree Skirt I (Sports Theme)

I must get therapy to help me with something my sister calls a "matchy-matchy" problem. The disorder seems to worsen with time, and it has no end in sight.

This year, I decided I needed (that's not a typo, I "needed," not "wanted") theme trees for some of the rooms in my house. Rooms like the gym and the (work-in-progress) home theater. Of course, my "matchy-matchy" problem reared its ugly head, and not only the ornaments had to match the theme, but the tree skirts did, too.

Have you tried to locate a tree skirt with a sports theme? I tried and tried, and couldn't find one. Ditto for the cowboy tree. Well, that's not entirely true. After much searching, I found a cowboy tree skirt but the price was exorbitant. And you know me; why would I spend $75 for a tree skirt? I can buy an entire tree and its ornaments for that kind of money.

So, I made 3 new tree skirts this year. The sports tree skirt was a simple cut and hot-glue project. The fabric is from Hobby Lobby; the trim is from Michaels:


My matchy-matchyness (at least for the home gym) is finally sated.

Christmas Tree Ribbon Ring

This idea is just too good to keep to myself. If you like the look of this Christmas tree, please read on:


After years of using ribbon to adorn my main Christmas tree and trying to figure out a way to make it easier to put up and store afterward, I came up with a "Dawnvention": I call it a "Ribbon Ring."

To make your own, purchase an 8" metal craft ring. Mine came from Jo-Ann Fabrics & Crafts; it was $1.29. I believe Hobby Lobby and Michaels carry them, too. The only other necessary supplies are a desk stapler, scissors and your favorite ribbon.

Measure your tree, and cut strips of ribbon at least 1.5 times as tall as the tree. Secure each strip to the craft ring with a few staples. It should look like this:


Once finished, place the ring over the top of your tree and arrange the ribbons symmetrically around the tree:


Secure the ribbon to the tree with wire, or simply tuck it in. Mine looked like this:


The best part of all? Storing the Ribbon Ring for next year. Simply roll each strip and secure them with rubber bands, clips, or wires:

December 13, 2011

Topiaries Re-Purposed for Christmas

I really wanted a pair of Christmas "somethings" for my entry, but hated the thought of buying some huge decorations and then having to store them all year. So when I saw some poinsettia topiaries at a local store, I thought about the sad looking topiaries I was saving, and realized they just needed a makeover in order to become the perfect pair of Christmas decorations.

First, let me show you how they turned out (I don't want to scare you by showing you the "before" pics first); here is one of them:


This is what it looked like before its makeover:


I know, it's pathetic. This is what happens when you leave things outside during a Nevada summer. To make them over, I used a bunch of silk poinsettia bushes (you can get them on sale right now at the craft store, or look for them at the dollar store):


After snipping the blooms off their stems, I simply stuck them into each of my sad-looking topiaries:


 Lastly, I added some pinecones to each pot, and voila:


This idea would work on wreaths or other faux plants which have seen better days. If you are anything like me, you will be so happy you spared them from the landfill, too.


Super Easy Wreath


This wreath is really easy to make, and all you need is 2 things to make it: some bulbs (I used 92 assorted sizes, the unbreakable kind) and a wire hanger.

Bend the hanger into a circle, and string the bulbs onto it. When it's full, twist the hanger ends together; this may require a pair of pliers.

It won't be perfectly round, but that's part of its charm!

This was another idea from Thrifty Decor Chick at: http://thriftydecorchick.blogspot.com/2009/11/hardest-easiest-diy-wreath-ever.html.  

She recommends hot gluing all the tops to the ornaments before threading them onto the hanger, but if you purchase the bulbs with the tops already glued on, as I did, you can save this step.

Wouldn't this look cute for other holidays, using different color bulbs? I'm thinking red, white, and pink for Valentine's Day; red, white and blue for July 4th; greens for St. Patrick's Day; pastels for Easter, etc. Yet another good reason to stock up during all the after-Christmas sales!

December 5, 2011

Santa Hats

I cannot take credit for this idea, but I love these decos so much, I made extras so I could give one set to my adorable daughter-in-law. I found them on another blog: http://thriftydecorchick.blogspot.com/2009/12/ho-ho-ho-santa-craft.html, and I'm sure I didn't do them justice, but you will get the idea.

The store-bought version cost $45 a set; my version cost about $20.75. I purchased all the supplies at Jo-Ann Fabrics. Here's what they look like when they're finished: 


You will need the following supplies: 3 different sizes of styofoam cones; rhinestone crystals; black vinyl that looks like leather; 3 poms in different sizes, red microsuede (don't buy the stretchy kind); and white fur trim (I used less than 1/4 of a yard). You will also need a hot glue gun and freezer paper or some other large paper (newspaper would work great, too).


I used the paper to make a template for each cone, so I wouldn't make any mistakes when cutting the fabric. Here's what it looked like after I traced the templates onto the fabric and cut each one:


The only step after that was to glue everything together. My tray came from a thrift store for $2; I spray-painted it green, then I added a few holiday bulbs. Thank you, Thrifty Decor Chick!

July 30, 2011

Cookie Jar Hanging Label

When I make treats for my family, they get placed in our cookie jar, which stays out on our kitchen counter. I've often wished there was an attractive way to label the contents of the jar, especially since I'm apt to try new recipes and no one ever knows what is in the jar.

Enter an idea for a permanent, but changeable label of sorts. I named it my "Cookie Jar Nametag." To make it, I used a small piece of wood, black spray paint, a length of necklace chain, 2 eye hooks and a piece of adhesive-backed white board film.

I sprayed the wood black on both sides, then drilled tiny holes for the eye hooks. I screwed in the hooks, then measured and cut the chain to fit around my jar. Lastly, I placed the white board film on one side. All in all, the project took less than an hour, and now I can label the contents of my jar.

Here's what it looks like:


Here's a closeup so you can see the hooks and chain better:


Of course, I use a dry erase marker so I can change the name of the contents easily. Alternatively, you could paint the wood with chalkboard paint and use a chalk marker instead.

Fancy-cut signs look cute, too. Here's another one that I made with a pre-cut chalkboard sign (from Michaels) and a longer chain:


No more guessing the flavor of the tasty treats that are waiting to be eaten!

July 27, 2011

Hidden Office

I don't know why, in a large home, finding a spot for my computer desk became a challenge. Maybe it's because my husband's needs got prioritized (as they should, since he's the breadwinner right now), or maybe it's because I like rooms that don't have to serve double-duty. For example, I prefer guest rooms that are always reserved for guests; that way, they don't have identity crises and I don't have to move my personal stuff out when guests move in.

At any rate, I found myself in this situation when we moved into our current home. I definitely wanted my office to be easily accessible, but I wanted our home to look pretty and organized, too. Enter a brainstorm which occurred as I perused a furniture consignment shop: I found a gorgeous armoire which was intended to hold clothing or a television, but I thought it would be a beautiful place for my hidden office.

I bought the armoire, and here's what it looks like; it's in my living room:


Although the inside wasn't set up to be used as an office, all it needed was a pull-out shelf for my computer. Of course, I also added a few more features to make it even more efficient.

Here's what the inside looks like now:


You can see that I added the computer shelf. If you try this yourself, be sure you purchase an armoire with an existing shelf which is the right height for your computer. I measured at home, and I knew a standard chair would fit just under this armoire's bottom. Here is the pullout shelf, close up:


I added baskets for stationary, bills, and office supplies:


On one inside door, I added an adhesive-backed, cut-to-fit, white board:


The other inside door received a corkboard (also adhesive-backed):


The end result is a hidden office area, which is well-organized and in a central location. Happily, it cost less than $650, while "real" computer armoires at a moderately-priced furniture store were over $800, and they were not as ornate nor as well-made.

Have you ever modified any pieces of furniture to better suit your needs?

July 16, 2011

Portable Puppet Theater

When I was a child, I longed for a puppet theater. There's something about them that inspires creativity in children. The downside is that they are usually large and cumbersome. They can be difficult to set up, and even more difficult to store if you don't have tons of room.

I saw a drapery panel at the discount store one day, and it was made of burgundy velvet. It reminded me of theater drapes, and gave me a great idea for a portable puppet theater. I purchased the panel, and came up with a space-saving and easy "How To".

I started by cutting the panel so that I would end up with 2 shorter panels instead of 1 long one. I made the top panel about 1/3 of the length, and the bottom panel 2/3 of the length. I purchased 2 tension rods, adjustable to the width of a standard door frame.

Then, I sewed each panel on one end (you can use fusible web and an iron if you don't sew). Since one panel already had a rod pocket (remember it was originally sold as a drapery panel), it just needed a hem on the cut end. The other panel needed a rod pocket, so I folded the cut end over to make a large enough pocket for the rod, and I sewed it.

Here's the finished project:


I moved the end of a panel over so you can see the tension rod underneath:

If you want to get fancy, you can make background "props" out of foam and Velcro:


I simply attached Velcro dots to the top panel, and then to the backs of different foam shapes like this:


To make puppet shows more "official", I downloaded a ticket graphic, printed duplicates of it on red card stock, and laminated them:

One of the best characteristics of this project is that when it's not in use, it can be rolled up and stored in a very small amount of space. The basic theater can be made in under an hour. Add-ons, like the props and tickets, take a bit longer.

I hope this project motivates you and inspires tons of family fun!