Southern Girl Layout

Showing posts with label Simple Sewing (and No-Sew) Projects. Show all posts

December 18, 2011

Christmas Tree Skirt III (from $1 Santa Hats)

The last Christmas tree skirt I made was inspired by this angel:


I found Santa hats at the Dollar Store, and they looked just like the angel's skirt! So I bought a bunch, cut them along their seams, and stitched them together, making this:


Here's what the underside looked like:


And here's what it looks like under the tree:

Not bad for $5.

Christmas Tree Skirt II (Cowboy Theme)

The Christmas tree skirt saga continued with a desire for a cowboy-themed tree skirt. The few I found online ranged from $55-$75, and there is no way I would pay that much for something I can make for under $20 and about an hour of my time.

This tree skirt required a little sewing, but nothing complicated, since I don't know how to sew very well. It could be hot-glued together instead.

Necessary supplies were 1.5 yards fabric (mine, from Hobby Lobby, resembles cow hide); trim (I used leather fringe, also from HobLob); batting (if you want to make it "fluffy"); and some remnant fabric for a backing (I used a quilted fabric):


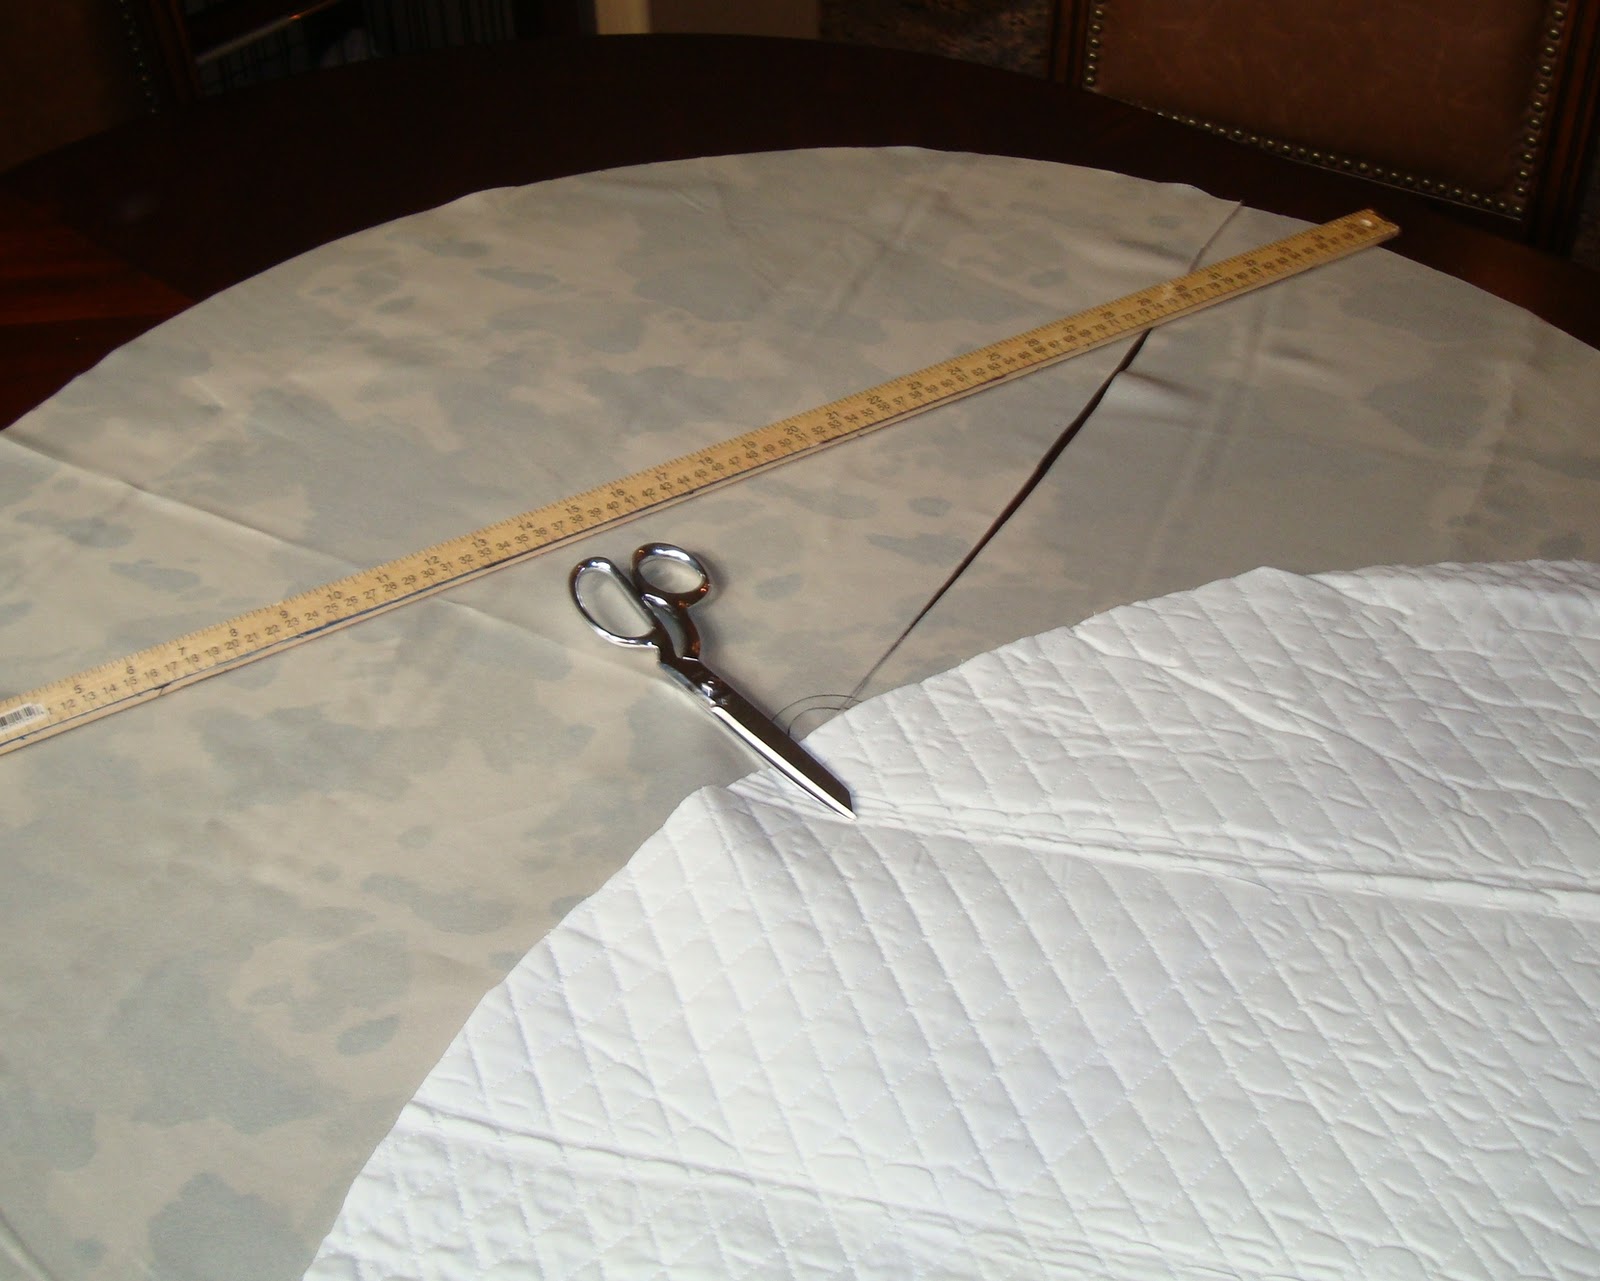
First, I cut all 3 fabrics into circles, then I cut a slit in one side and a circle from the middle:


Next, I put the right sides of the 2 fabrics together and put the batting in the middle.

I pinned all 3 fabrics together, and then sewed around the middle circle, down one side of the slit, and all around the edges.


After that, I turned it inside out (which actually was rightside out) and sewed up the other side of the slit. You can see here that it wasn't perfect by any means:


I used a hot glue gun to add the leather fringe. Here's what it looks like under the tree:

Christmas Tree Skirt I (Sports Theme)

I must get therapy to help me with something my sister calls a "matchy-matchy" problem. The disorder seems to worsen with time, and it has no end in sight.

This year, I decided I needed (that's not a typo, I "needed," not "wanted") theme trees for some of the rooms in my house. Rooms like the gym and the (work-in-progress) home theater. Of course, my "matchy-matchy" problem reared its ugly head, and not only the ornaments had to match the theme, but the tree skirts did, too.

Have you tried to locate a tree skirt with a sports theme? I tried and tried, and couldn't find one. Ditto for the cowboy tree. Well, that's not entirely true. After much searching, I found a cowboy tree skirt but the price was exorbitant. And you know me; why would I spend $75 for a tree skirt? I can buy an entire tree and its ornaments for that kind of money.

So, I made 3 new tree skirts this year. The sports tree skirt was a simple cut and hot-glue project. The fabric is from Hobby Lobby; the trim is from Michaels:


My matchy-matchyness (at least for the home gym) is finally sated.

July 16, 2011

Portable Puppet Theater

When I was a child, I longed for a puppet theater. There's something about them that inspires creativity in children. The downside is that they are usually large and cumbersome. They can be difficult to set up, and even more difficult to store if you don't have tons of room.

I saw a drapery panel at the discount store one day, and it was made of burgundy velvet. It reminded me of theater drapes, and gave me a great idea for a portable puppet theater. I purchased the panel, and came up with a space-saving and easy "How To".

I started by cutting the panel so that I would end up with 2 shorter panels instead of 1 long one. I made the top panel about 1/3 of the length, and the bottom panel 2/3 of the length. I purchased 2 tension rods, adjustable to the width of a standard door frame.

Then, I sewed each panel on one end (you can use fusible web and an iron if you don't sew). Since one panel already had a rod pocket (remember it was originally sold as a drapery panel), it just needed a hem on the cut end. The other panel needed a rod pocket, so I folded the cut end over to make a large enough pocket for the rod, and I sewed it.

Here's the finished project:


I moved the end of a panel over so you can see the tension rod underneath:

If you want to get fancy, you can make background "props" out of foam and Velcro:


I simply attached Velcro dots to the top panel, and then to the backs of different foam shapes like this:


To make puppet shows more "official", I downloaded a ticket graphic, printed duplicates of it on red card stock, and laminated them:

One of the best characteristics of this project is that when it's not in use, it can be rolled up and stored in a very small amount of space. The basic theater can be made in under an hour. Add-ons, like the props and tickets, take a bit longer.

I hope this project motivates you and inspires tons of family fun!

May 28, 2011

Simple Summer Cardigan

Why do summer cardigans have to be so expensive? Even at Old Navy, they range from $20 to $25, and that's just too much for me to spend!

Happily, I love thrifting. Not just for the thrill of the bargains, but also for the idea of re-purposing and recycling. I went to a local thrift store recently and lamented the lack of summery cardigans on the thrift store racks. Then, inspiration hit: why not make a super simple cardigan out of a lightweight cotton V-neck shirt? All I would need to do is make a cut down the center of the shirt and find a way to bind the edges so they wouldn't unravel.

For $4 each, I picked up some V-necks in summer-appropriate colors, like lemon yellow, cornflower blue, black, and white. Then I headed over to the fabric store to see what I could use for the edges. I wasn't quite sure it would all work out, but I figured it was worth a try! And guess what happened? Success!

This is how I started out; I just drew, then cut, a straight line from the bottom of the V to the hem:

Then, I used this bias tape ($2) in a matching color (you could also use a contrasting color, which would be super cute):

This is what the tape looks like, when it's opened up:

After you open the tape and trim the length, you cover the raw edges you have just cut into the shirt, like this (I left the tape a little longer, and then folded the extra length under, so the tape wouldn't have a raw edge, either):

Pin it in place, and sew it on (I know my pins are going the wrong way, but the fabrics were too thick to place them the correct way). Or, if you don't sew, use iron-on fusible web to secure it: 


The end result: a summer cardigan for $6! I also love that it's cotton instead of a heavier knit, because when it gets burning-hot in Vegas, cotton is much friendlier!
I may try to get fancy and add a button or an eye and hook later; for now, I'm happy with the open-front look that is trendy right now. Plus I'm super scared of making buttonholes!


DISCLAIMER/WORDS OF ENCOURAGEMENT: I really don't know how to sew. I can make a straight line, and that's seriously it! I had Home Ec in junior high school (remember that class?) and I must have goofed off when we were taught sewing, because I don't remember anything I learned that week. To overcome my sewing deficiency, I picked up a $99 sewing machine at Wal-Mart and read the manual. If that's too ambitious/expensive for your taste, you can accomplish just about the same results if you use the fusible web. Also, I'm allergic to ironing; I'd rather sew stuff together!