Southern Girl Layout

Showing posts with label Miscellaneous. Show all posts

August 27, 2017

Fireman Themed Bedroom

While one grandson wanted a policeman themed bedroom (you can see it here: Policeman Themed Room), the other requested a fireman room. Here's what their beautiful mom and I came up with.

I used the exact same technique for the fire engine wall hanging as I did for the police car in the post I referenced above: I created and saved the image to a USB drive, printed it out (extra large) at Kinko's, then cut it into thirds. Then, I used Mod Podge to attach it to three large canvases.

We placed it over the bed, and then made three pillow covers with iconic fireman designs on them. For the pillows, we used my Silhouette machine and heat transfer vinyl.

We placed the same images on the fabric bins in his storage cubby.

Here are the bins, close up. How cute are the accessories? That's a toy fire extinguisher on the top left, and fireman boots on the top right. If you know a real fireman, you might be able to score some real gear.

I found this cool sign on Amazon, but when it arrived, it wasn't large enough for the space. Rather than send it back, I mounted it on a piece of flat black canvas.

Here, I drilled a hole into a toy fireman's helmet, and inserted a lamp base purchased by my daughter-in-law at Ikea. We added the yellow stripe (made from duct tape) to tie it into our theme colors. I covered the hole in the helmet with air-dry clay, painted black.

We repeated the same design on this other cubby. The fire hydrant (from Amazon) is actually a plastic storage container. We made the ladder with pieces of wood trim. Very easy!

This is my favorite element in the room. I used bulletin board paper because I don't know how to mount wallpaper (this is the same paper I used for my Harry Potter party; you can see it here: Harry Potter Party). Once we stapled the paper to the wall, I brushed on a heavy coat of Mod Podge to protect it. Then, I added a chair rail and the cutest hooks EVER:

The hooks are from Amazon. You can find them if you search for "fun vintage faucet spigots." 

I freshened up these vintage chairs with paint and added the fireman symbols (cut from my Silhouette machine, but you could use an online image and Mod Podge instead). Then, I made the table, using a wooden table top and very short legs that I purchased from Lowe's. After I painted the legs, I covered the tabletop with a tire cover that we cut down and stapled to it. You can't tell from the photo, but the tire cover (on Amazon, called a "silver diamond plated steel vinyl spare tire cover") looks very much like this, only it is a soft surface:


This little cutie loves his new room!

UPDATE: I found an old fire hose in an online auction, and thought it would be a great addition to the room. It looked a little tired, so I painted it with a bright yellow acrylic craft paint, then I anchored it into the wall, for safety. I think it adds a lot to the room:


You may notice that the "brick" wall looks a little different, too. That's because the bulletin board paper didn't hold up very well over time. I ended up dipping a rectangular-shaped sponge in red paint, and creating the brick pattern on the wall. The porous sponge created realistic-looking "bricks," and I didn't tape off the area or try to make it too perfect. It looks much better now.


Policeman Themed Bedroom

One of my little grandsons wanted a policeman themed bedroom, and here's what my sweet daughter-in-law and I came up with (the other grandson asked for a fireman themed room, so please be sure to check out that post, at Fireman Themed Room):

First, I created and saved this police car design, put it on a USB drive, and had it blown up at Kinko's. Then, I cut it into thirds and used Mod Podge to attach it to the canvases.

We made coordinating pillow covers with my Silhouette machine (using heat transfer vinyl, which we pressed onto plain pillow covers).

The police car lamp was created from a simple Ikea lamp and a plastic police car. I just drilled a hole through the car, stuck the lamp through it, and used air-dry clay to cover the hole. The bedside table is just a black table, onto which we applied white duct tape so we could get perfectly straight lines. Much easier (and more durable) than painting the table.

I purchased these real metal street signs from Amazon.

I made police hooks using metal police badges (toys purchased from Amazon), attached to metal hooks (also from Amazon; you can search for "Gatco 4245 Latitude II single robe hook, chrome"). I attached them with Gorilla epoxy.

I purchased this cute desk -  which included fabric bins in the perfect colors for the room - online, from Walmart. Then, we added the same police icons that coordinate with the pillows. The images needed a little contrast on the dark bins, so we used white heat transfer vinyl to make a background for each one. Here they are close up:


I made this cute bulletin board by stapling plain black cotton fabric over cork, then I used police tape (also from Amazon) to fit our theme.

 I couldn't resist these police car pushpins from here.

We also added a giant thumbprint to his "detective's desk" (made on my Silhouette machine, but you could just print and Mod Podge an image instead). We then covered his desktop with a piece of clear plastic, to protect the thumbprint - and the desk - from damage.

When I asked the room's new owner to let me take a picture of him next to his favorite thing, this is where he wanted to pose. He loves his new room, especially his desk and bulletin board!

December 31, 2011

After-Christmas Shopping

I'm sure we're all out scouring the stores for bargains right now, so I want to give you some potentially new bargain-shopping ideas. This time of year, consider not just looking for discounted Christmas decor, but items for other holidays and projects as well.

4th of July
Last July, I blogged about post-Christmas bargains. Here are some pics of star-shaped Christmas decorations I re-purposed for 4th of July. A little red, white, and blue paint coupled with some imagination transformed them; it was inexpensive and easy!


Red, white (or silver) and blue ornaments would look great in July, too. Think about putting them in an apothecary jar - like the ones here - or in a large bowl. They could also be made into an Independence Day wreath. Many stores also carry patriotic-themed Christmas ornaments that can be re-used for the 4th of July.


Valentine's Day
Don’t forget other holidays. Of course, red, pink and white Christmas décor is perfect for Valentine’s Day. Red wrapping paper and gift bags will be in high demand in February; buy it now and save.

Credit: http://www.great-decorating-ideas.com/Homemade-Outdoor-Christmas-Decorations.html


Birthdays
I like to purchase solid-color wrapping paper this time of year. I use it to wrap gifts all year long. Look how plain red and green wrapping paper can be completely changed by using bold, non-Christmas ribbon:


Credit: http://cherishedbydesign.com/category_34/Gift-Boxes.htm

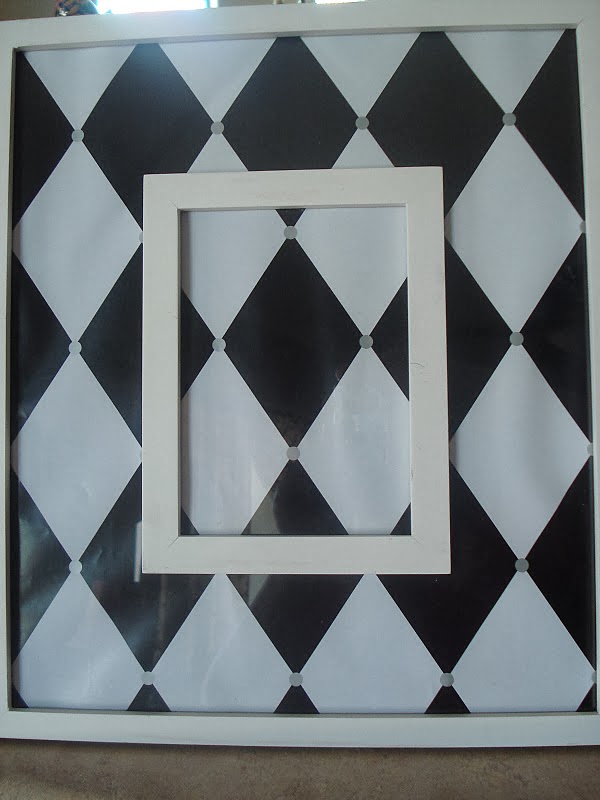
This year, I found some beautiful patterned papers at Hobby Lobby for 60% off. They had red and white, and also a black and white harlequin pattern. The rolls are huge, and less than $3.00 each.


Projects
I can think of a million other ways to use wrapping paper. All you need is some Mod Podge and your creativity (or you can consult www.pinterest.com for ideas). In fact, here's what one crafty blogger did with the exact same paper I found at HobLob:

Credit: http://nostalgicnana.blogspot.com/2011_04_01_archive.html

Organization and Gifting
Many stores have Christmas baskets which can be used for organizing your house or gift-giving. Yesterday I found these baskets at Michaels for 70% off:
They were much less expensive than their everyday counterparts, so I purchased a number of them and removed the Christmas lining, which I will donate. I'm using the baskets to organize my kitchen cabinets, but they could just as easily be used for non-Christmas gifting:
Speaking of baskets and gifts, wouldn't it save time and money to stock up on gift sets right now, considering they're up to 90% off? Just throw away the Christmas packaging and put the sets in baskets for Valentine's, birthdays, Easter, etc.

I’d love to hear about your finds!

July 30, 2011

Cookie Jar Hanging Label

When I make treats for my family, they get placed in our cookie jar, which stays out on our kitchen counter. I've often wished there was an attractive way to label the contents of the jar, especially since I'm apt to try new recipes and no one ever knows what is in the jar.

Enter an idea for a permanent, but changeable label of sorts. I named it my "Cookie Jar Nametag." To make it, I used a small piece of wood, black spray paint, a length of necklace chain, 2 eye hooks and a piece of adhesive-backed white board film.

I sprayed the wood black on both sides, then drilled tiny holes for the eye hooks. I screwed in the hooks, then measured and cut the chain to fit around my jar. Lastly, I placed the white board film on one side. All in all, the project took less than an hour, and now I can label the contents of my jar.

Here's what it looks like:


Here's a closeup so you can see the hooks and chain better:


Of course, I use a dry erase marker so I can change the name of the contents easily. Alternatively, you could paint the wood with chalkboard paint and use a chalk marker instead.

Fancy-cut signs look cute, too. Here's another one that I made with a pre-cut chalkboard sign (from Michaels) and a longer chain:


No more guessing the flavor of the tasty treats that are waiting to be eaten!

May 22, 2011

Flip Flop Swap

I don't know about you, but I covet new sandals this time of year. I look at all the bright colors and I want a pair in every hue! Then reality hits, and I realize that even if I could buy a pair in every color (and my husband didn't kill me), I really wouldn't have room for all of them.

That's when an idea hit me: what if I had some plain sandals with interchangeable ornaments? Then I could satisfy my desire for new colors and styles without taking up so much room, not to mention breaking the bank.

A quick search online told me that some clever girls had already invented these. One girl sells ornaments that are affixed with snaps, and another girl sells some with magnetic decorations. Of course, the deal-breaker for me was that they sell for about $20 for each set of ornaments. Is it just me, or is that a little ridiculous?

So, I offer you my version of flip flops with swap-able ornaments.

You start with a pair of flip flops, to which you glue Velcro dots. I made a pair in white, and a pair in black. Make sure you use very strong glue (I used flip flop glue, available at the craft store):


Then, glue Velcro dots (from Wal-Mart or a home improvement store) to ornaments of your choice. I selected flowers, bows, stones, and acrylic gemstones from the craft store. Just make sure whatever you want to use has a flat back, and that it's large enough for the Velcro dot:


Here are the finished products:


And because I'm a freak about organization, I had to have a fun, attractive way to store all the decorations. So I took strips of Velcro, affixed them to an old photo frame, and mounted it to the back of my closet door:


Warning: I've worn many of the different ornaments already, and several of my friends have asked me to make some for them. Be prepared to make them for your friends, too!