Southern Girl Layout

July 14, 2021

Shark Birthday Party!

 Shark Birthday Party!

We recently held a fun party for my grandson, so I wanted to share the pics:


It was obviously a shark/nautical-themed event. Here are some close-ups:


I made this "life preserver" with a 16" styrofoam wreath form, rope (from Lowe's), and red duct tape. I added the card stock letters, which I cut on my Silhouette Cameo.


My son's fiancée set up this great balloon arch, and stacked up the beach balls to welcome guests.


My son's fiancée also painted the "surf boards" on foam boards, and she hung dollar store plastic tablecloth covers and a fishing net on the backdrop holder.


The "anchor ropes" are red licorice set on top of brown sugar "sand." I found the red and white gummy watermelon rings, aka "life preservers," on Amazon. The candy shark tooth necklaces are from Oriental Trading Company.
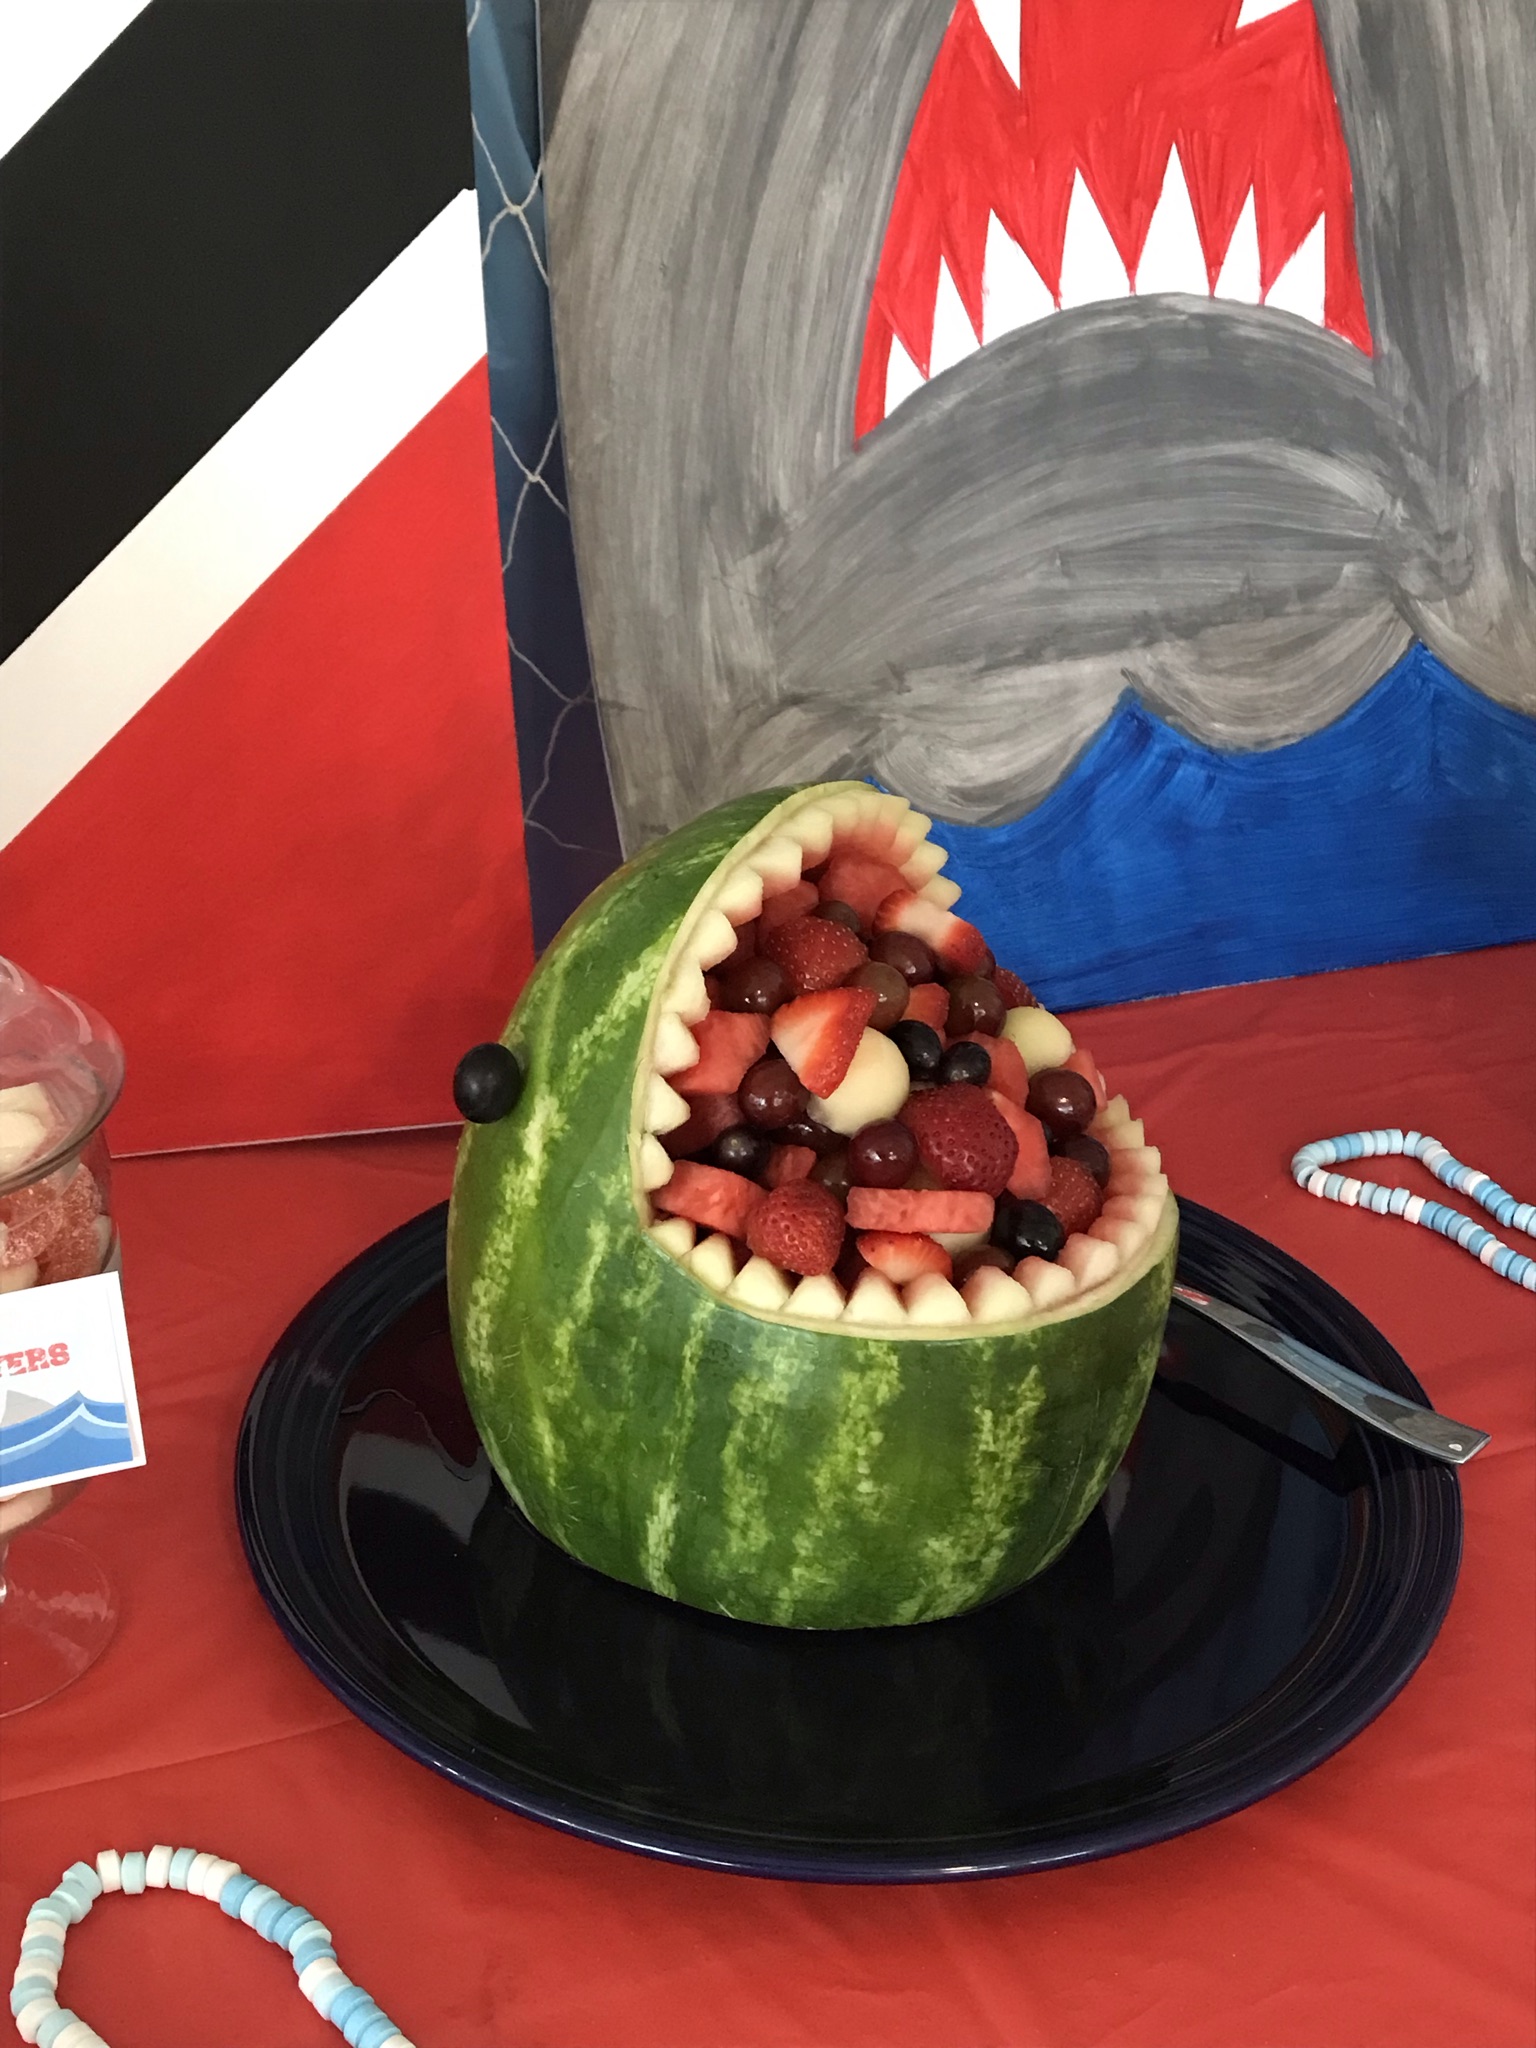

It was easy but time-consuming to make the watermelon shark. To form the teeth, I used the v-shaped garnishing tool from this set (Amazon.com: Norpro Garnishing Tool Set of 5 Spiral/Slice/Curl/Crinkle Fruit and Veggies: Garnishing Knives: Home & Kitchen):


I cut out the shark fins on grey card stock, using my Silhouette. Then I glued them onto toothpicks.
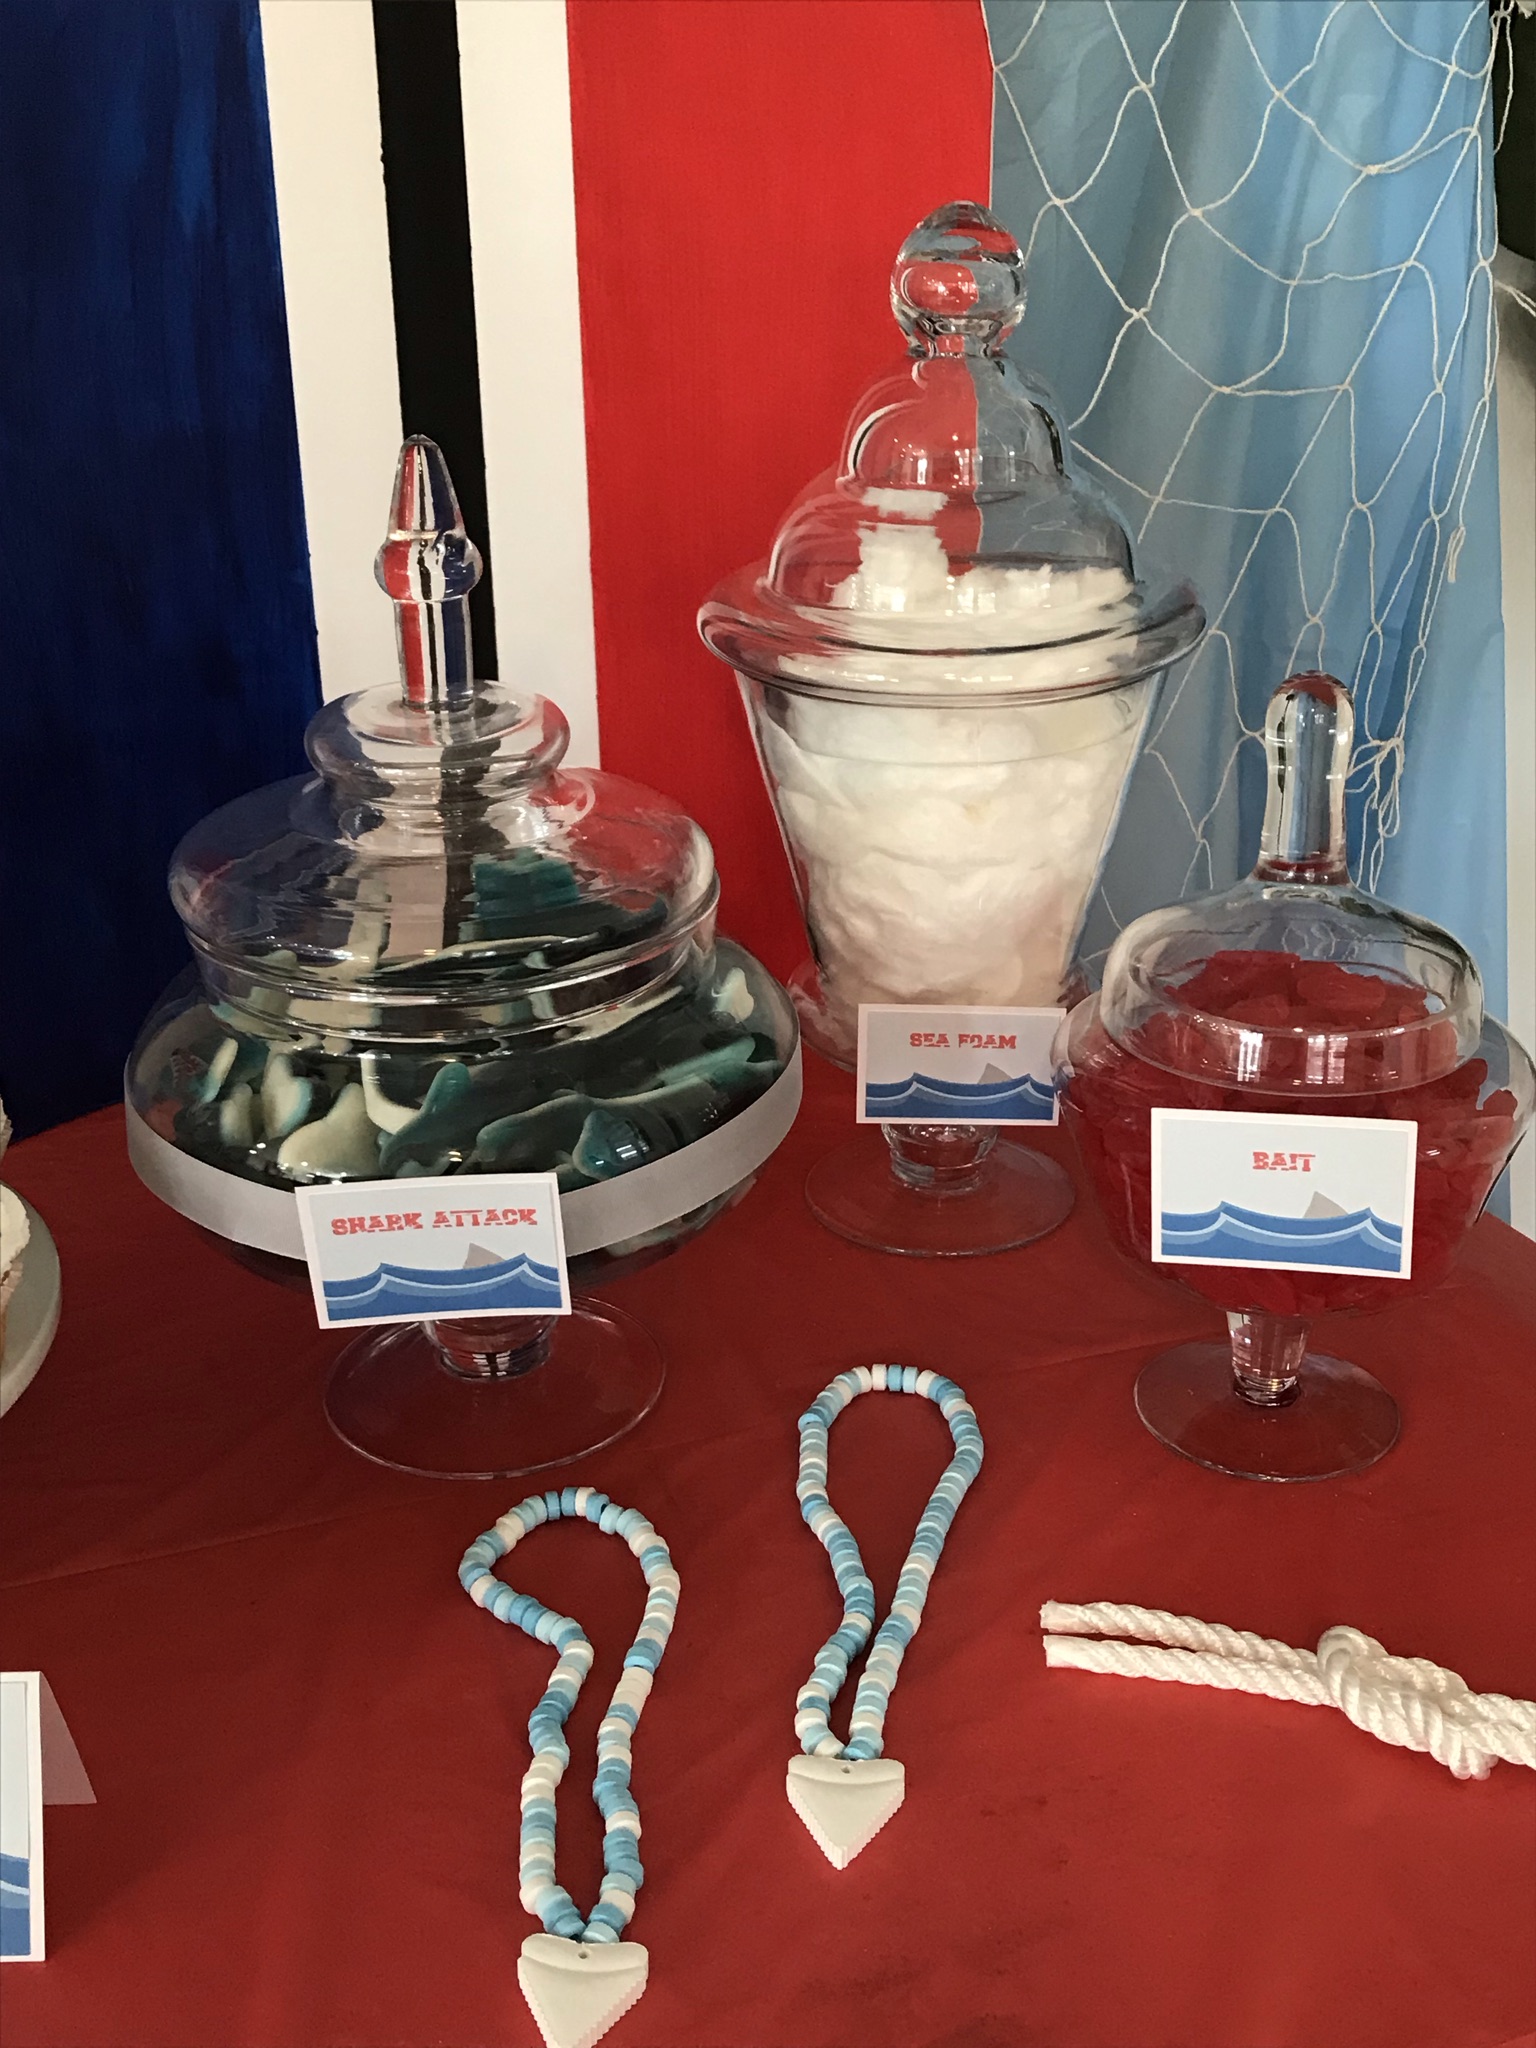

The "Shark Attack" snacks were gummy sharks from Amazon. The "Sea Foam" was white cotton candy, and the "Bait" was red Swedish fish.


The "Ocean Water" was a blue sports drink, which we topped with red and white plastic fishing bobbers. We couldn't get the bobbers to float white-side-up, and didn't have time to figure out a fix. If you know how, please share your tip in the Comments.


I used large paper maché letters from Hobby Lobby to make this sign. I painted some letters, and used scrapbook paper (adhered with Mod Podge) on others. Then, I hot-glued on the cute nautical wood accents, also from Hobby Lobby. I did the same for the numbers below, but glued some rope (left over from the foam life preserver) on the zero:

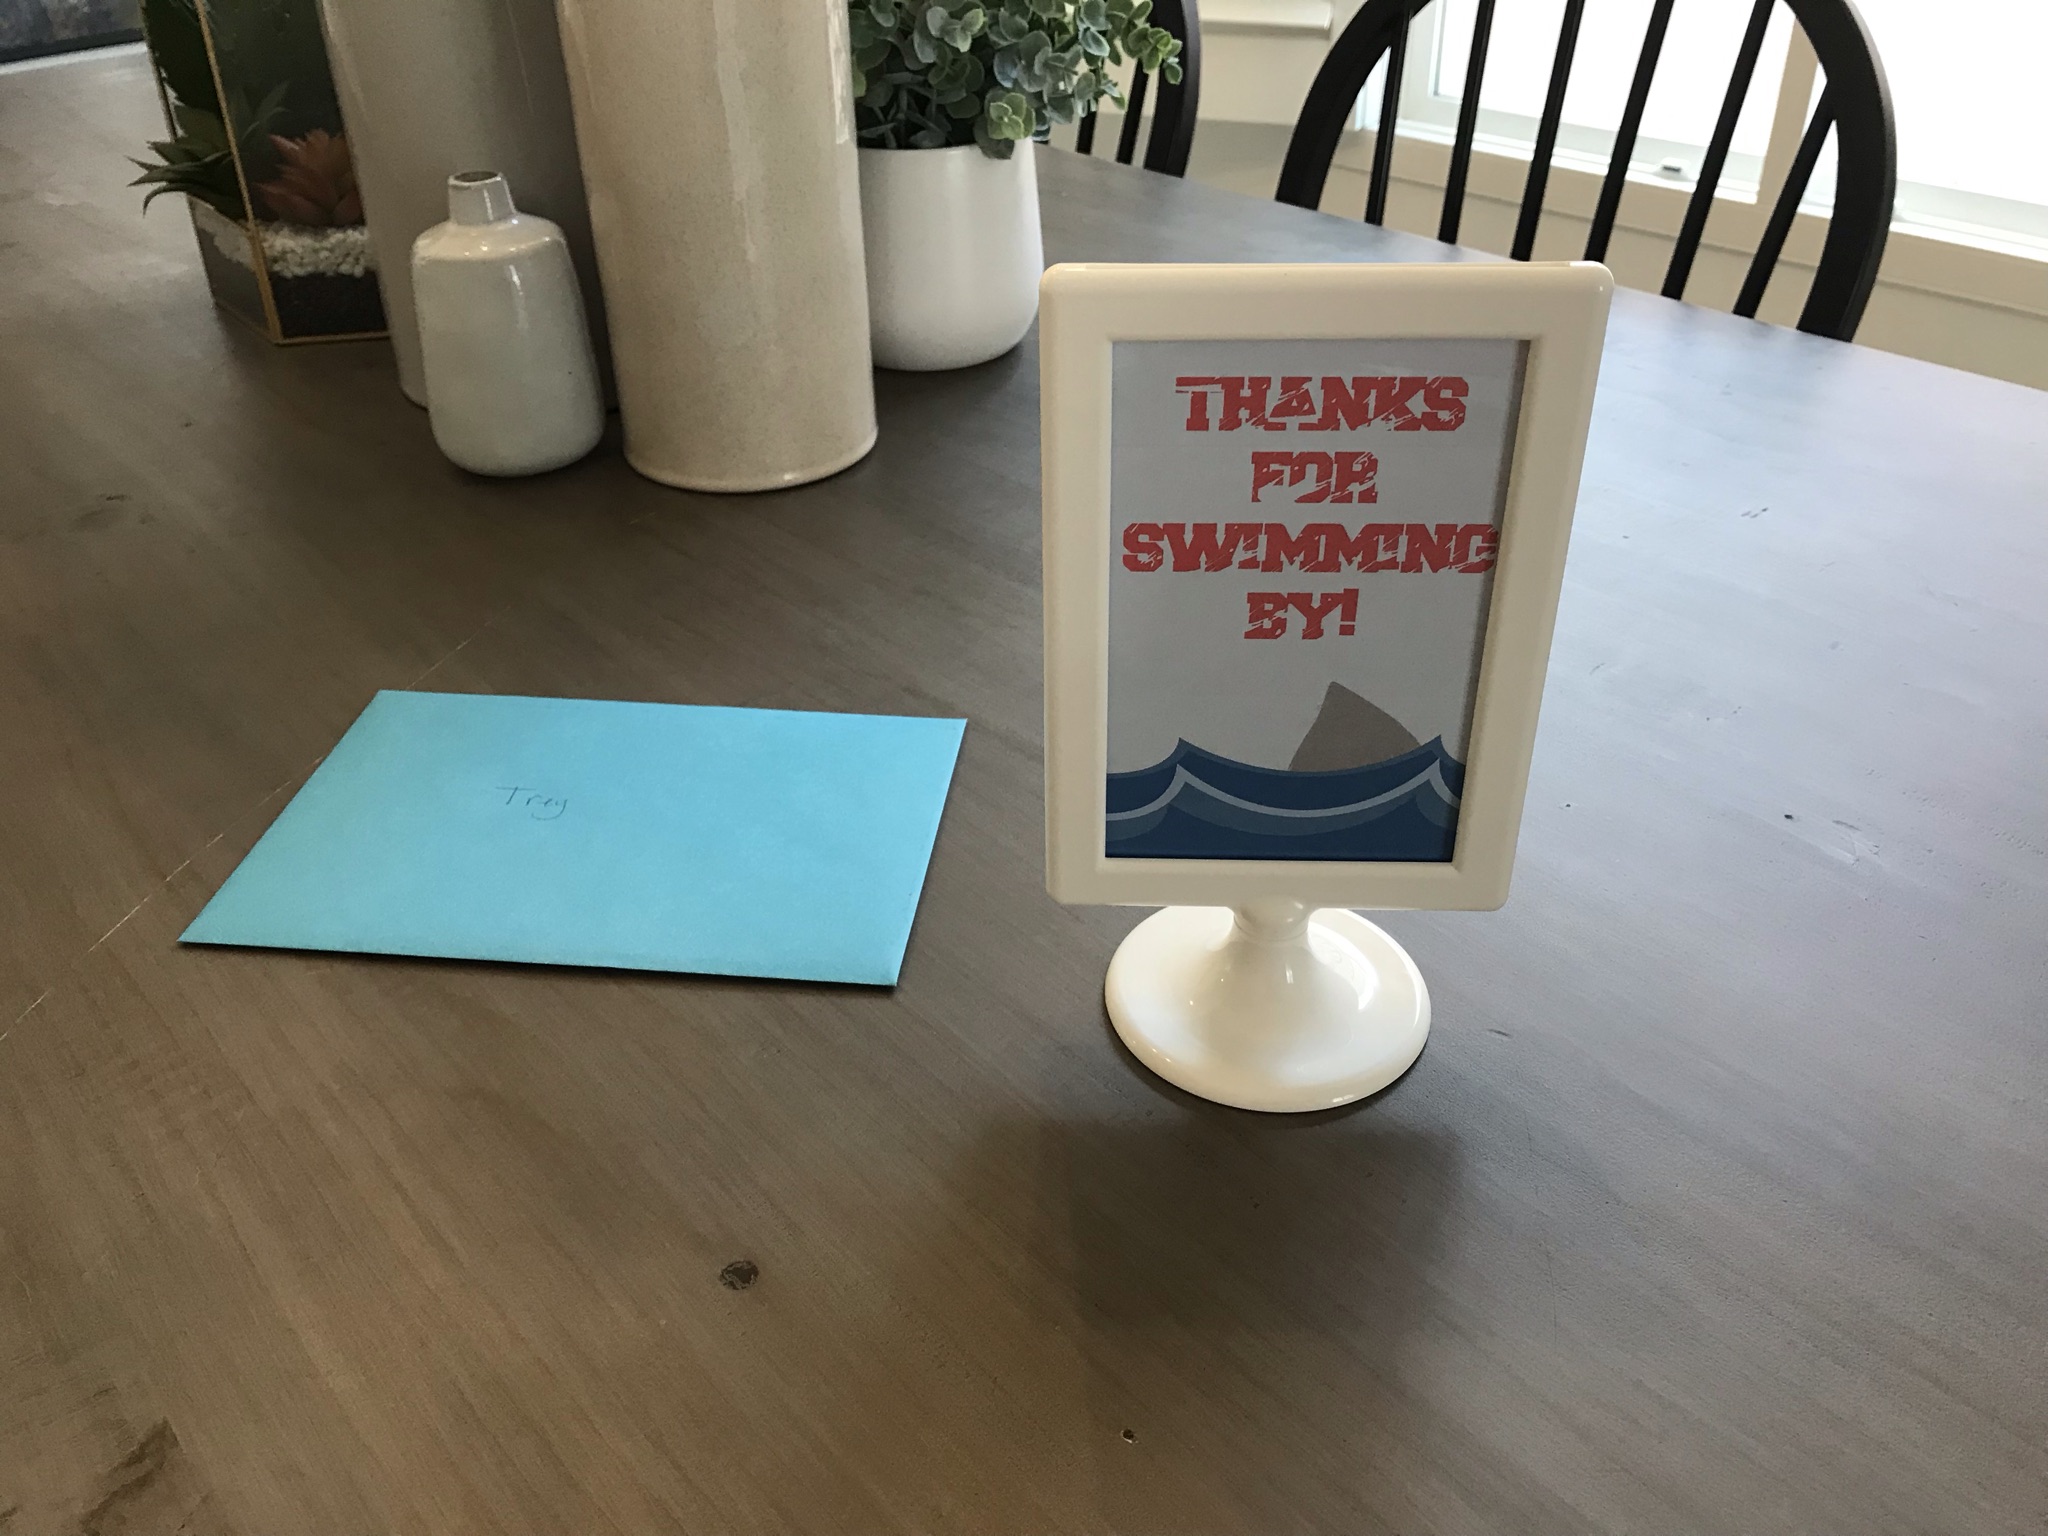


That's it! Like the sign says, "Thanks for swimming by!"


June 30, 2021

4th of July 2021

Happy (almost) 4th of July! Here's how I dressed up our home this year, with some money-saving DIY tips added in:


I made the "USA" on my mantel by using 3 frames from the dollar store. I added blue scrapbook paper with white stars, then I glued the letters on the glass of each frame.

I hot-glued a votive holder to a basic blue star to make this tabletop décor.

I made these "firecrackers" from a wood fencepost that I cut into 3 different lengths. I drilled a hole into the tops, then after I painted them, I hot glued some pieces of rope to resemble fuses.


I made the tabletop signs with some wood from the craft store, a burlap bow, and letters that I cut on my Silhouette Cameo machine. The star is from Michaels (I just glued it into a wood frame that I painted).

I spray-painted the spheres in the jar on the left, and I used basket shreds in the jar on the right. The foam stars in the center jar are from Hobby Lobby.


Here's a close-up of what's in my island lanterns. I filled Mason jars with red, white, and black beans, then inserted mini flags for a super patriotic, but inexpensive, touch.

I purchase these stars in an after-Christmas sale many years ago, then painted them. This year, I added some 4th of July ribbon to make them look even more festive. Here's a link to my post about going after-Christmas shopping to purchase décor for other holidays: Dimes are a Girl's Best Friend: After-Christmas Shopping (dimesareagirlsbestfriend.blogspot.com)


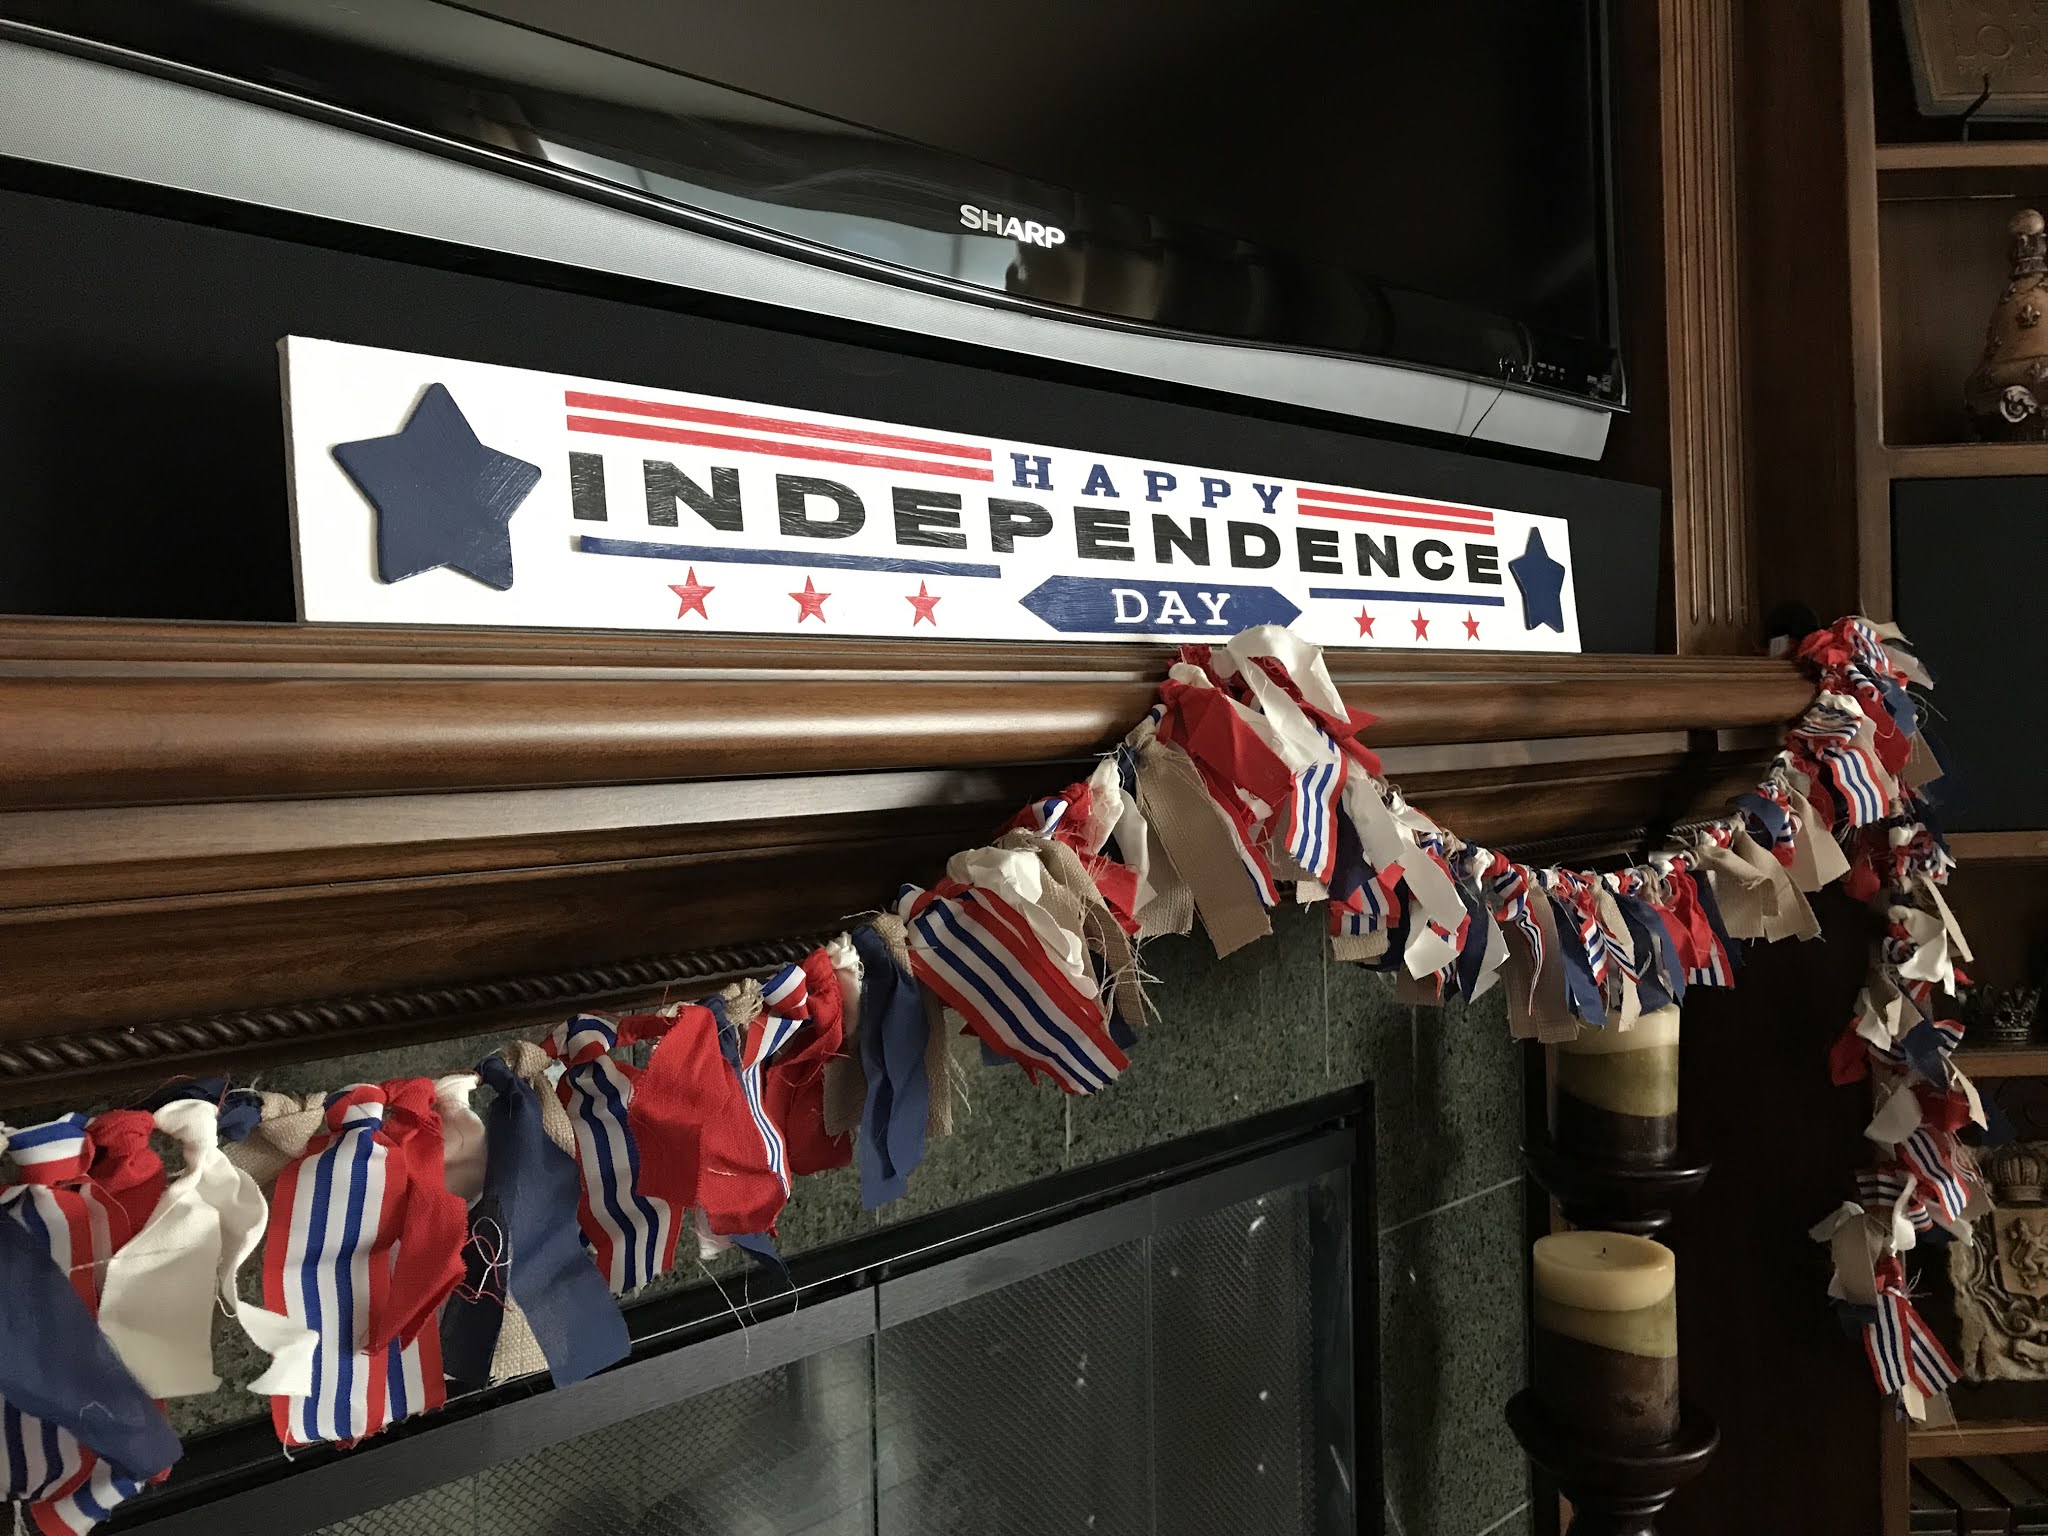
It's so hard to find long holiday wooden signs for my mantel. This year, I gave up trying to find something pre-made, and bought unfinished wood. I painted it, added the 2 large wooden stars, and cut the rest of the design out of cardstock on my Silhouette Cameo. I then Mod-Podged the design onto the wood. Last, I attached "EZ Easel" stands so it would stand up on its own; I also highly recommend these stands if you have a picture frame with a broken easel, or a wall frame that you want to turn into a tabletop frame: Amazon.com: Premium Quality EZ Easel Black Pack of 2 


You've probably noticed that I'm a big fan of wall signs paired with easels, which turns them into tabletop décor.


I made these a few years ago out of wood blocks that I painted blue. I Mod-Podged patriotic scrapbook paper on the blocks, and cut out the words (on vinyl) on my Silhouette Cameo. For the spheres, I used red, white, and blue silk rose petals glued onto styrofoam.


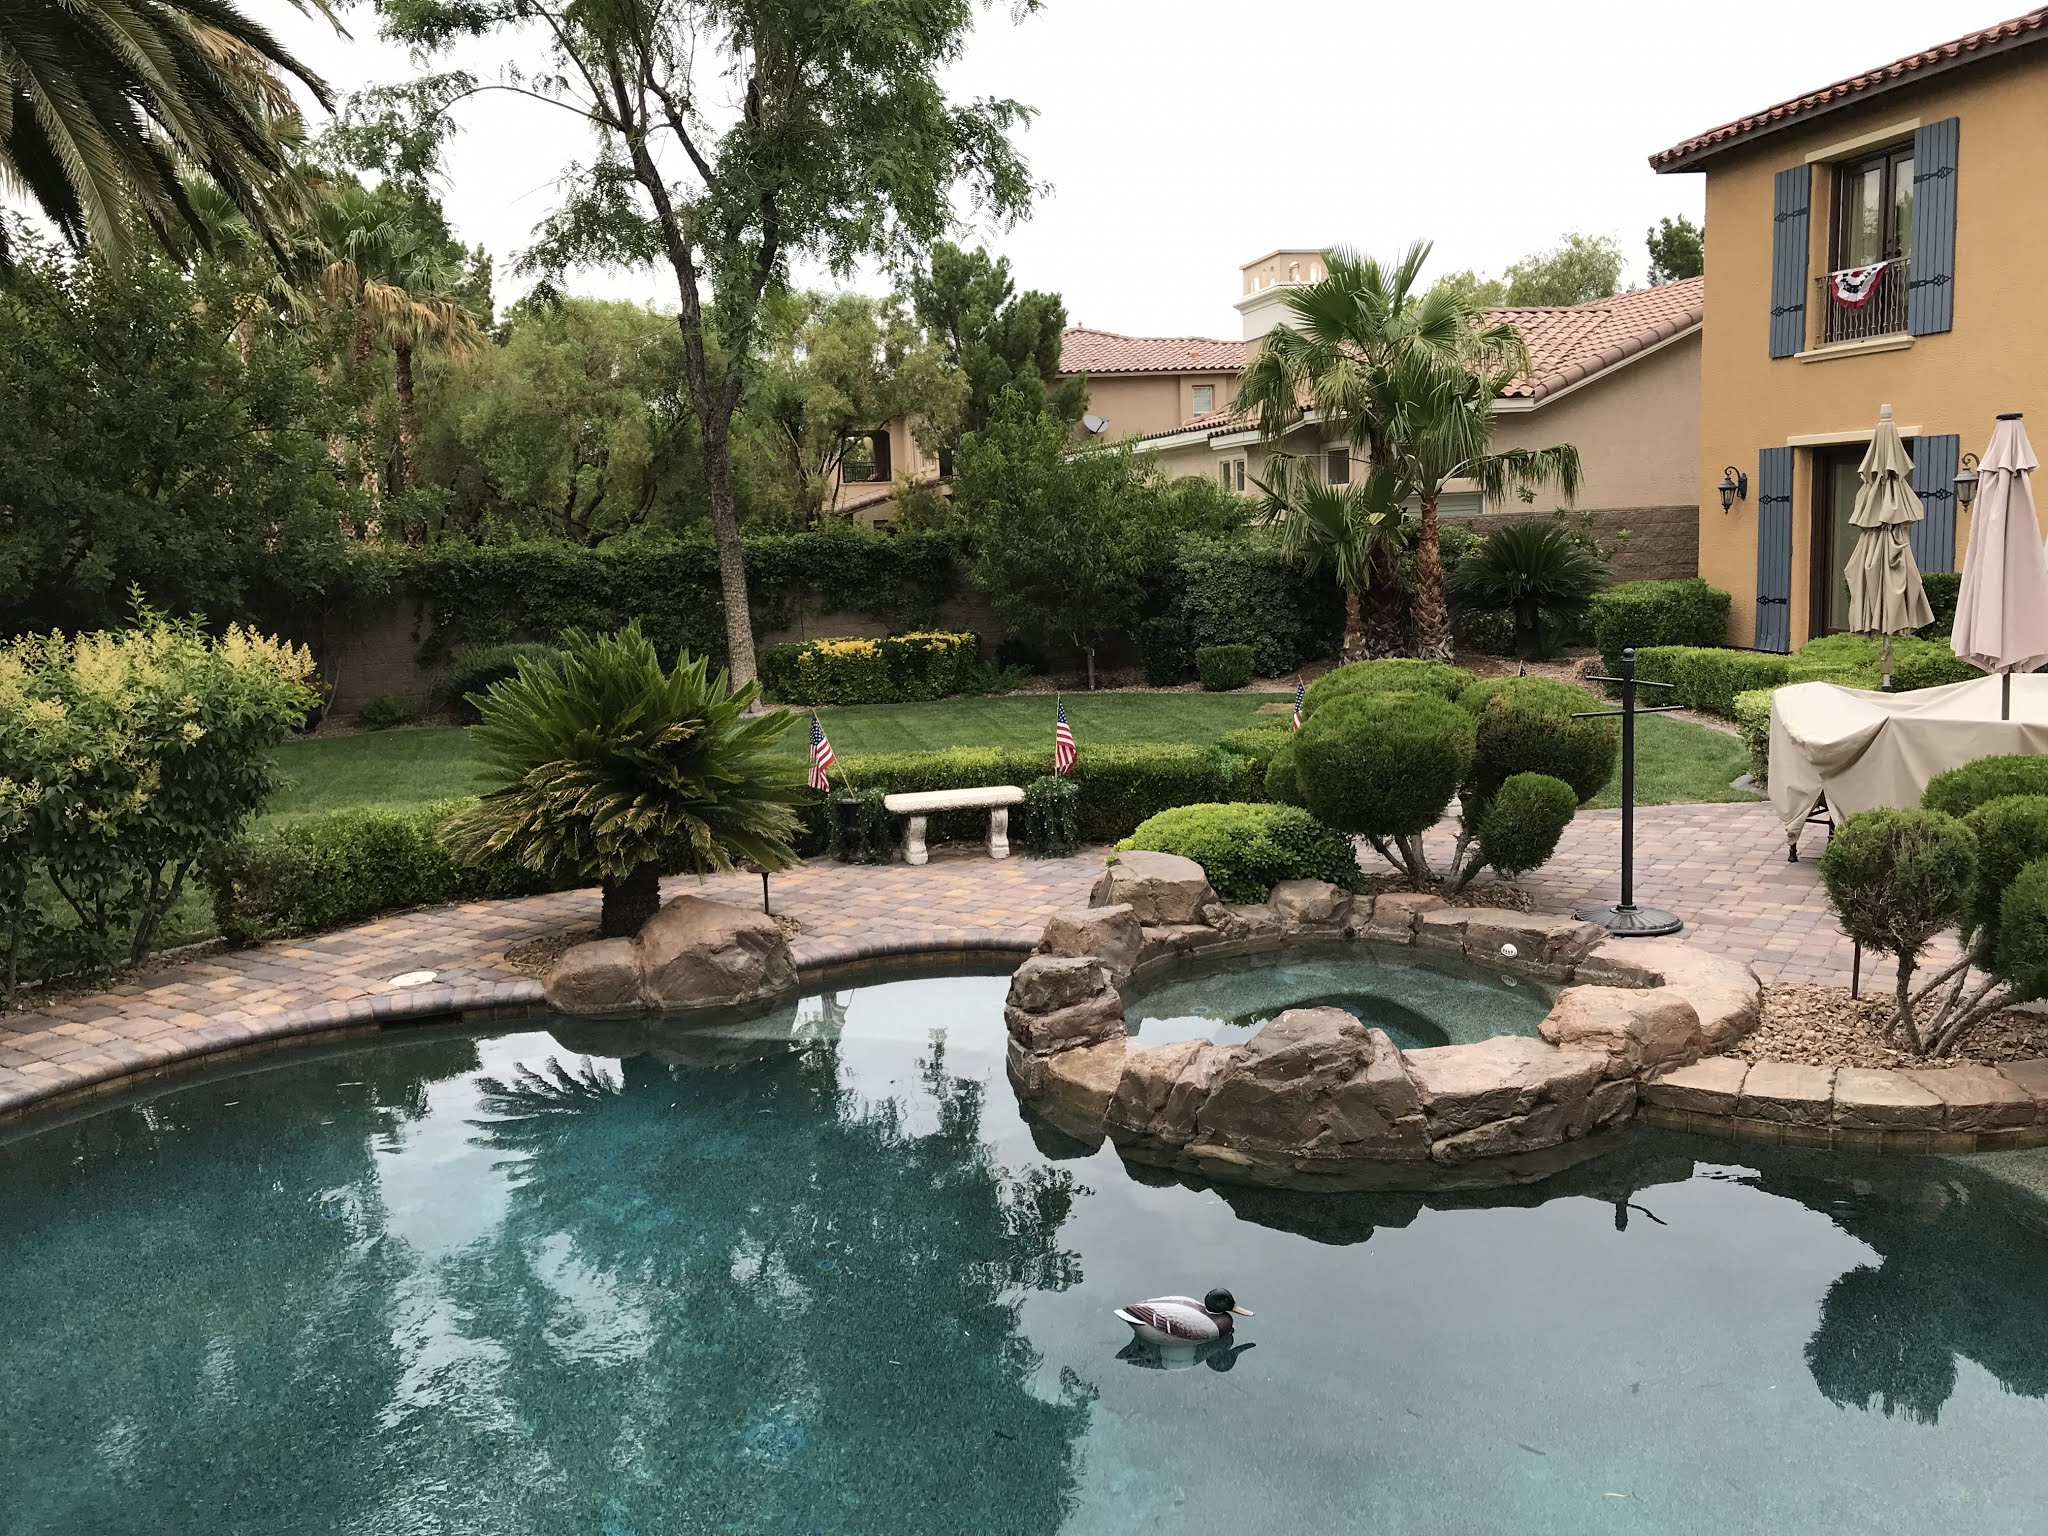
Some flags and patriotic bunting always complete the holiday look in my backyard.

I hope you have a fun, safe 4th of July!

May 24, 2021

Lady's "1st Birthday Paw-ty"

Last month, we celebrated Lady's first birthday. I've never thrown a party for a dog before, but it was a great excuse to invite my Las Vegas grandchildren over for cake!


I made most of the decorations on my Silhouette Cameo, but a few things - like the backdrop and the balloons - came from Amazon. 

I bought the picture frame, dog bowls, and tableware from the dollar store, of course! I got the small wooden fire hydrant and dog house from a craft supply website, then painted/glittered them. The "dog bones," actually "Scooby Doo" graham crackers, were a big hit.

I cut a piece off of the backdrop to make a table runner (using packaging tape to "hem" the raw edges). I made the ribbon garland with a thin piece of rope, and a few spools of coordinating ribbon. It was a time-consuming task, but easy to do while watching some of my favorite guilty pleasures on Netflix.

My favorite bakery was unable to make the cake, so I had to do it myself. This tutorial made it easy, but it was still very time-consuming: Yorkie Dog Cake Recipe - BettyCrocker.com  I couldn't find hot pink cake board foil, so I used wrapping paper (but if you do this, be sure to have an extra cake board under the cake, so the icing doesn't stain the paper). I used fondant to cover an ice cream cone for the hat, and to cover a waffle cone bowl for the dog bowl (then I used edible glitter on each). The "dog food" is cocoa puffs. The bone was also made of fondant, cut with a cookie cutter.


I ordered the puppies from Amazon. They're keychains, which were more cost-effective - I just cut off the attached key rings.

Not pictured: granddaughter Saylor, who was too excited to sit still!